

A Comprehensive Guide to Preparing Your Home for Sale Before Cross Country Moving
Posted in Moving Tips & Tricks,Planning the Move on March 10, 2021
If you’ve decided to sell your property, you will have a lot on your hands. Preparing your home for sale requires a practical and detailed plan. Since the majority of properties don’t stay on the market for too long, act quickly to draw potential buyers with ease. As a matter of fact, most experts would recommend that you start decluttering and packing as soon as you decide to sell. Now, let’s see about prioritizing, timeline, and tasks you’ll need to fulfill. Here’s an extensive guide for you.
How to Prepare Your House for Sale – A Quick Overview
Although you can (and should) follow some universal preparing your home for sale tips and guidelines, there’s no such thing as a single timetable to match all homes. Still, with proper organization, this could be doable within one week. However, if you’re in for some substantial downsizing, the process could take more. Nonetheless, learning a few moving hacks will unquestionably help you arrange your household before selling it, and investing in cross-country moving services:
- Declutter and pack your garage and storage items,
- Move on to the living room and do the same,
- Leave up to five days to arrange your bedroom and spare rooms,
- Clean up and pack your kitchen and bathroom.
Once you have finished these tasks, got rid of the unnecessary clutter, and packed your belongings, you’ll have a few make-over assignments left:
- Paint and fix the minor damage you encounter upon moving furniture
- Scrub and clean thoroughly
- Rearrange the items that aren’t packed in a way that will feel the most appealing and comfortable for your potential buyers.

Stick to the plan and create a customized timetable according to our guidelines
One of the Most Important Preparing Your Home for Sale Tips Is to Create a Home Inventory Plan
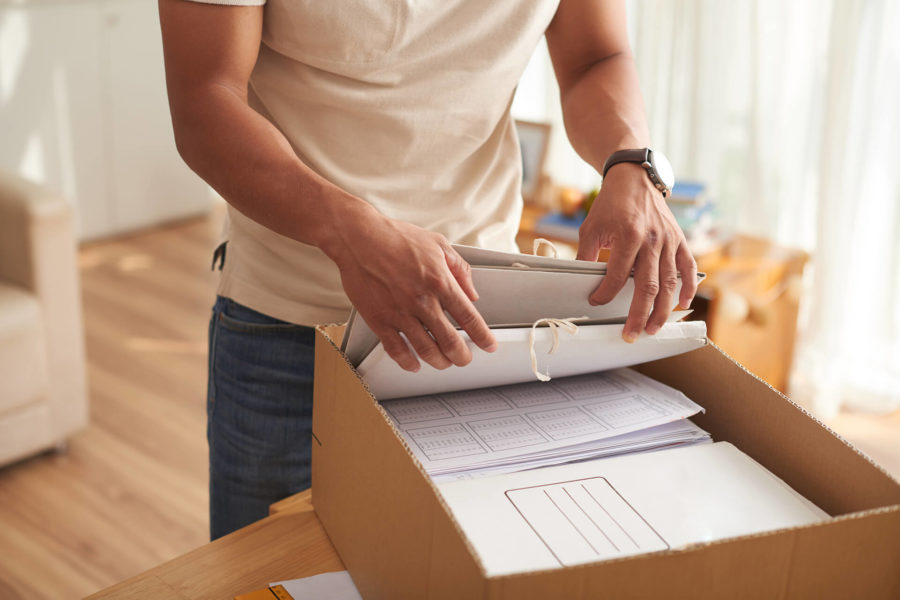
Before you start to pack, create a household inventory list to be sure that nothing gets lost in the move and that you keep up with your timetable. It makes moving cross country so much easier. You should:
- Mark the priorities,
- List the moving essentials properly,
- Come up with a system that works for you,
- Print the list and look it over whenever you need.
Also, it would be helpful to download an inventory app that will help you sort things out. Take a picture of each box before closing it.
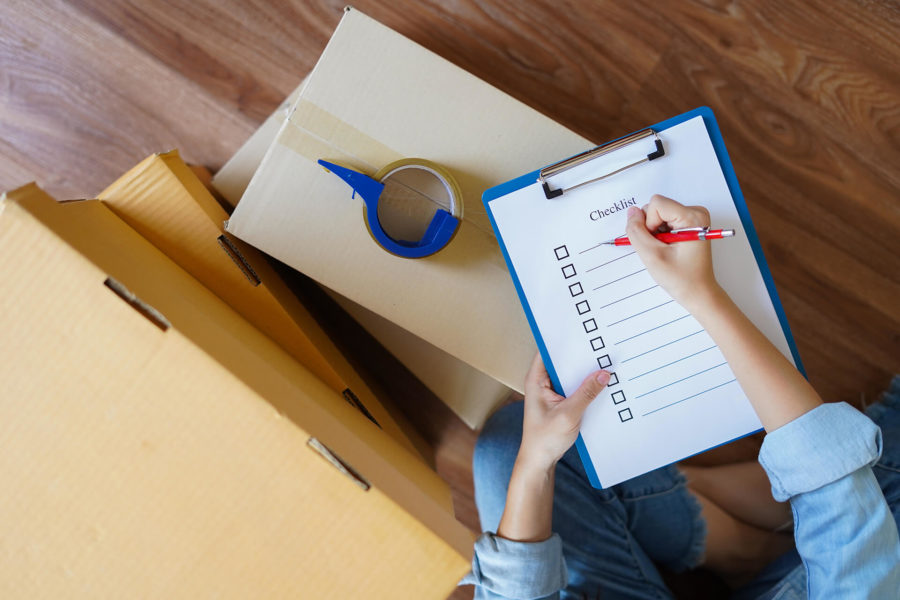
You must prepare the full inventory list before packing
Garage and Storage
Even if you’re not planning on moving cross country or selling your property, cleaning out the garage, basement, and storage rooms is a demanding and challenging task. These areas are most likely packed with unused or outdated items. Once you’ve organized these rooms and decluttered them, you will get the extra space you will undoubtedly need to store boxes later. Making room for your belongings helps you cut on the moving costs too. Once you’ve made more space to pack and preserve your stuff neatly, you won’t need to ask for a full service from your cross-country movers. This assignment will take approximately three days.
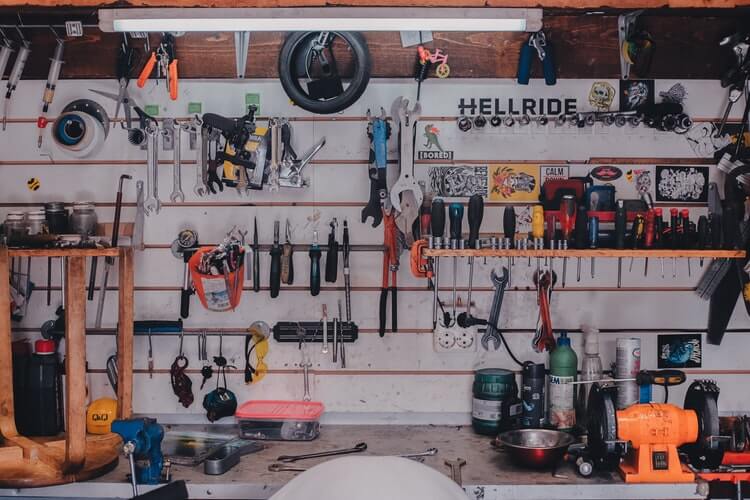
The garage is usually the messiest area, so start your cleaning and decluttering there
Living Room Decluttering and Packing
Once you tackle this room, you will create an enjoyable, decluttered place to work as you move on to the bedrooms. Checking the prime living area off of your list is an important step. That is why you should dedicate your time to the living room right after you’ve organized and packed your garage and basement. The small items from your living room are also easier to pack. As a rule, packing fragile items you have in your kitchen is a far more demanding process than your decorative pillows. And also, small living room objects are less likely to be essential.
Ready to move with us?
Get a free quote
Bedroom and Spare Rooms
This process usually takes up to five days. Firstly, check your inventory list again and start decluttering. Since the living room represents a more functional space and you spend more time in it, bedrooms should come right after it. You probably invite your guests to your living and dining room, so the area where you sleep is most likely more cluttered than you think, which is why you will need more boxes than you know. You could try and get some of the packing materials for free to relieve your moving budget a bit. Still, you could rely on the professional long-distance movers you hired for your relocation to take care of packing supplies, as every company offers this service as well.
Take one box or a container that you will label as “necessities.” It should be filled with everything you will need right upon moving across the country, including carefully folded clothes, packed shoes, and other everyday-use objects.
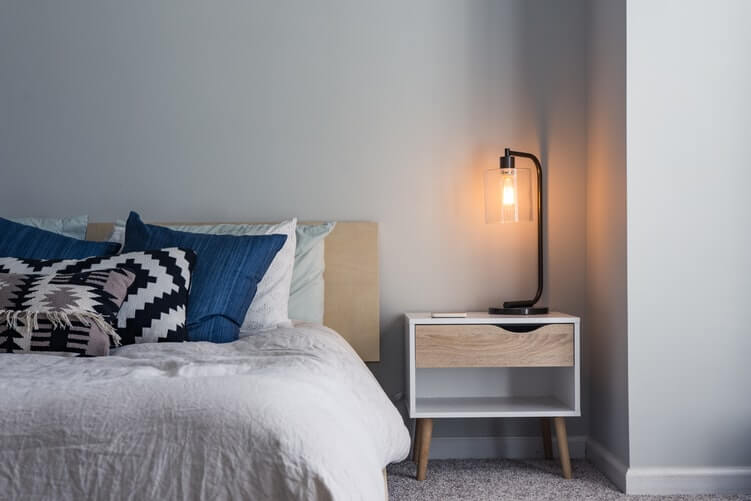
Regardless of how tidy you think your bedroom is, you will have to provide more packing materials than it seemed at first
Pack Your Kitchen and Bathroom
Although the kitchen is the most complicated room for packing, getting it ready for the visits of real estate agents and potential buyers only takes around two days. The drill is the same as it was for your bedroom:
- Pick up the essentials from your kitchen and bathroom and pack them into separate boxes with proper labels,
- Set aside your cleaning equipment and products because you’ll need them again soon,
- As for the kitchen, start by assembling the basic cooking kit.
You can mostly pack your dishes and move on to packing glasses you’ve chosen to keep. However, you will bump into some mismatched cups and mugs or unused pantry and pots with a missing lid. Those items should be immediately discarded. The food and bathroom products must also undergo the assessment process. Everything that is about to expire should be tossed. Essential bathroom items that must be stashed are products like toothpaste and toilet paper. Keep them close. Just don’t display them in front of potential buyers.

Kitchen and bathroom cabinets will require a second glance afterward
Donate or Sell Unwanted Items
Every household item that you no longer plan to use should find its way out of your home (new one included). You can separate them into three categories and pile them up room-by-room:
- The things that aren’t in good condition and should be thrown away,
- Items that no longer suit you can be donated,
- Some valuable objects that you don’t intend to keep can earn you the extra buck on a garage or yard sale.

Once you divide your stuff into categories, label their boxes properly
Additional Tips for Preparing Your Home for Sale
Aside from these major house-selling activities and projects, you might want to learn a trick or two regarding some of the small yet important stuff. Many forget about them. And yet, they should be part of preparing your home for sale checklist:
- Make a positive first impression by taking good care of your entryway and front yard
- Depersonalize the exterior and interior of your house
- Make your home feel bigger and brighter by opening the curtains and blinds on all windows
- Neutralize the smells with air fresheners and candles
- Take a second glance at your drawers, closets, and cabinets

Start by cleaning up and refining the front entrance and its surroundings
Top Priority on Your “Preparing Your Home for Sale” Checklist – Make a Positive First Impression
To welcome your potential buyer properly, direct your attention toward the area around your front door. While your real estate agent is unlocking the door, the buyer will look around and notice each flaw. When you decide to focus on this area, walk outside your home and take a look. Put yourself into your buyer’s shoes. Do you see anything that needs to be retouched? Get to it and make your doorway and its surroundings perfect:
- Clean everything,
- Put a new doormat,
- Wipe and polish your mailbox,
- Repaint your door if necessary,
- Shine the metal door handles.
First Impression, Part Two – Your Driveway and the Sidewalk
Another eyesore you mustn’t allow yourself to miss is an uneven sidewalk. Not only will it look unappealing, but it could be dangerous. For those who aren’t moving alone and would want to raise a family in this house, this is a massive slip. Still, singles wouldn’t be impressed either. Fixing a jagged driveway most likely isn’t one of their favorite things to do after moving. You can learn how to fix the problem yourself or hire reliable local contractors. The expenses for this type of repair depend on the amount of work and necessary materials.

Paint what needs painting before showcasing your property
Depersonalize the Exterior and Interior
Depersonalizing goes hand in hand with decluttering. Even if your taste is unarguably impeccable, some personal stuff that lies around the rooms could feel distracting or weird to your buyers. Remove everything that isn’t part of your landscaping and box it up the same way you would store your Christmas ornaments.
Front Yard and Back Yard Clutter
When the real estate agent shows your garden, make them feel like showing off. By the time the interested purchaser arrives, you should remove:
- Garden gnomes and ceramic animals,
- Lost toys, balls, and similar objects,
- Your trash bin,
- Bird feeders and items with a similar purpose,
- Erase any sign of pets.
Your yard shouldn’t look cluttered. Clean it up and keep it simple.
Depersonalizing the Interior
Regardless of how proud you are of your family’s accomplishments, strive not to advertise them during the selling process. Pack your family photos, your kids’ drawings, displayed diplomas, and other personalized items. Ship them off to your new home and substitute them with standard artwork. You could contact a professional cross-country moving company near you and ask for storage services. This way, your prized possessions will be in good hands, and your residence will look spotless.
Simplicity is the key to selling properties
Open the Blinds and Curtains
Preparing your house for sale isn’t all about heavy lifting and endless packing. You can do a few minor things to boost the overall performance. For instance, a simple move like opening up the blinds and curtains can create a completely different impression. This way, your living area, and other rooms will look lighter and seem bigger. The entire household will appear to be fresher and cleaner. Also, if your old window treatments are worn out, replace them. Pick some of the lighter colors. And surely, go for physically appealing, simplistic, and inexpensive ones. This trick will be effective even when moving in winter.
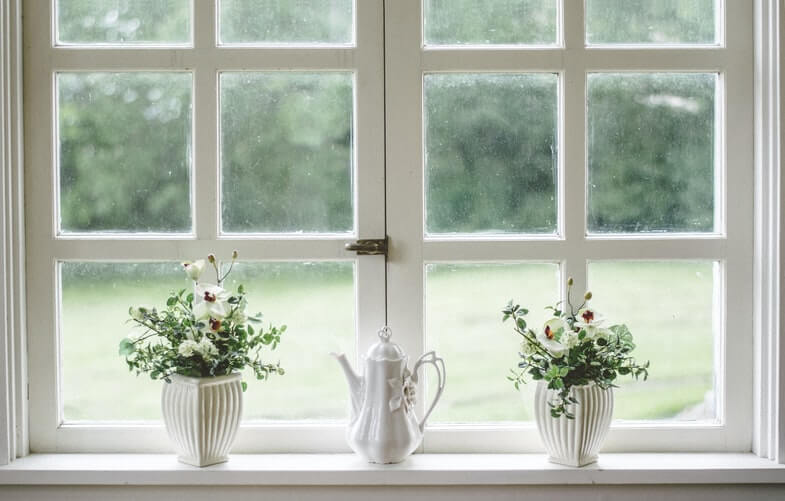
Gain more space with minimal effort
Neutralizing Smells and Making Your Household More Enjoyable
Every individual and every family has different reasons to move. Some relocate for love, while others choose to switch to get a job in a new city. Yet all of those who are house-hunting have some common criteria to go by. Regardless of the size of the property and its functionality, people tend to pick up on seemingly insignificant features. The smells associated with a physical space do play a tremendous role. So before the real estate agent shows up with an interested party, make sure to:
- Open the windows for at least 30 minutes,
- Remove your pets from the area,
- Pack shoes, gym bags, workout equipment, and any other items with an odor,
- Don’t cook any meals inside the house on that day.
Moving in With Pets
Although your household might be pet-friendly, mask the smells that give it away. Even people who would move in with pets will appreciate the lack of the previous owner’s furry friend’s odor. On the day of house-showing, you should:
- Leave the windows open for a few extra minutes,
- Use an air freshener,
- Light some candles that have a pleasant aroma and neutralize other smells.

No matter how fond you are of your pets, ensure that they won’t interfere with your house-showing
Check out the Drawers, Closets, and Cabinets Again Before the House-Showing Day
Even after you’ve taken care of the clutter and cleaned everything, make sure that your place is ready for selling by double-checking each room and its corners:
- Pack the clothes that shouldn’t be in your closet when the buyers turn up,
- Store them adequately or ship them off to your new house,
- Collect the medication from bathroom cabinets and box them up away from the prospective buyer’s eyes,
- Clear your kitchen by removing unnecessary appliances, dishes, spices, and other items,
- Empty the refrigerator and scrub it once more.
Additionally, you should brush everything up once more. Grab a broom and a vacuum cleaner to sweep up any dirt that you might have missed.
Preparing Your House for Sale Means You Should Tidy Up the Garage and Basement
Although you have already dedicated several days to these areas, go over them again. If your basement is unfinished, you’ll need extra effort to make it presentable. If you have an attic, deal with it as well. Your buyers will want to take a look in there too. Since most people use these rooms as storage units, especially during the relocation time, there have to be some dust, dirt, or packing materials that require cleaning up and shifting.

Impress your prospective buyer and gain more storage space simultaneously by cleaning up your garage
Bonus Tip: Gather Warranties for All Appliances
All real estate agents will testify the same. If your household appliances come with the home, be sure to collect the necessary warranty information for each piece of appliance. Hand them off to buyers and provide them with a sense of security. Since the relocation process can get a bit messy or stressful, create a moving binder. As you plan how to sell your property and discuss it with the real estate agents, encounter all relevant warranties and add them into the relocation folder so you don’t lose them. You could scan them and store them as digital files. Or, better yet, keep them in one of the top drawers (and save a copy, just in case).
Preserve all valuable documents and warranties
Ready for House-Showing and Selling?
As in every other detailed and important process, you must take your time to plan your house-prepping. Selling your property is a big deal. Wherever you choose to move afterward, you must smooth the whole process connected to relocation and real estate issues. Once the agents interest a purchaser into buying, you must find a reliable cross-country moving company. Adequate long-distance moving services will help you jump-start your new chapter easily and with enthusiasm. Follow our tips to finalize the sales successfully and quickly, and enjoy your next hometown!
Looking for one of the best cross-country moving companies out there? Look no further, because we offer a variety of cross-country moving services to make your relocation a breeze. Contact us today, and let us assist you with everything you require.
FAQ
What Are the Key Steps to Preparing a Home for Sale?
When it comes to preparing a home for sale, there are several key steps that must be taken in order to ensure the best possible outcome. These steps include decluttering and cleaning the entire house, making necessary repairs, staging the home to show off its features, pricing it competitively, and marketing it effectively. With these tips in mind, homeowners can maximize their chances of selling quickly and at top dollar.
What Upgrades Should I Consider Making Before Selling My Home?
Some of the most common upgrades that can add value to a property include updating kitchen appliances, countertops, and cabinets, replacing windows and doors, installing new flooring, and upgrading or adding bathrooms. Additionally, making minor repairs such as fixing any cracks in walls or ceilings, replacing broken fixtures, and painting can also help add value to your home.
How Should I Stage My Home for Showings and Open Houses?
First, declutter and depersonalize the space. Remove any items that don’t fit with the style or atmosphere of the house – this includes family photos and mementos as well as extra furniture or décor pieces that take away from its aesthetic appeal. Once you have cleared out excess objects, it is important to create a warm and inviting atmosphere with subtle touches like fresh flowers or scented candles. Finally, add some finishing touches such as brightening up dull walls with paint or adding new curtains to windows.
How Can I Maximize the Value of My Home Before Selling It?
The first step in maximizing your home’s value is to make sure the basics are taken care of. This means making sure things like plumbing, electrical wiring, and building structure are up to code and in good condition. Fixing any safety issues should also be a priority. Next, you can focus on making more cosmetic changes such as painting walls, refreshing flooring (if you didn’t protect floors before), or updating fixtures and appliances. These small changes can make a big difference in the look of your home without requiring a large investment. You can also move on to larger projects such as remodeling kitchens and bathrooms, finishing basements, adding decks, or landscaping, depending on your budget and timeline.
How Can I Make My Home Appeal to Potential Buyers?
It is important to remember that the little details matter and that you want your home to stand out from the competition in the eyes of prospective buyers. Make sure to declutter, spruce up the exterior, deep clean the whole house, create good lighting, and make minor repairs.
What Should I Do to Repair and Improve My Home’s Interior and Exterior?
First, assess the condition of your home’s interior and exterior by looking for any signs of damage or wear and tear. Then, decide what repairs need to be made and which improvements should be implemented in order to create an attractive living space both inside and out. Finally, make sure you have the necessary tools, materials, and expertise required for each task before getting started.
What Are Some Ways to Make My Home More Energy Efficient?
There are a variety of ways to make your home more energy-efficient, ranging from simple changes such as switching out light bulbs to bigger renovations like adding insulation or replacing windows. Some of the most effective methods for improving energy efficiency include upgrading appliances and electronics, installing programmable thermostats, sealing leaks around doors and windows, using LED lighting, investing in solar panels, and utilizing natural ventilation when possible.
How Should I Handle Cleaning and Decluttering Before Showing My Home?
Start by removing any unnecessary items from each room and then go through the house with a vacuum cleaner or mop to make sure every surface is sparkling clean. Next, pay special attention to areas like bathrooms and kitchens where grime tends to build up quickly, and use strong cleaning products in these spots if necessary. Finally, be sure all windows are washed inside and out so they let in plenty of natural light.
Should I Hire a Professional Home Inspector Before Listing My Home for Sale?
A full home inspection can provide you with a snapshot of the condition of your home, helping to identify any areas that need improvement prior to listing and advertising. Inspectors will check for structural issues such as worn wiring, cracked foundations, or water damage, as well as cosmetic problems like peeling paint or missing shingles on the roof. A professional inspection can also reveal issues with the HVAC system, plumbing fixtures, and any appliances that come with the house.
How Can I Make My Home Look More Attractive to Potential Buyers Through Landscaping?
To start improving your home’s appearance, begin by walking around the property and taking note of any areas that need improvement. Make sure to note anything that stands out as a possible issue, such as overgrown plants or an unkempt lawn. Once you have identified any potential issues, create a plan to address them in order to improve the home’s overall appearance. You can also add features like flower beds and walkways to help boost your home’s appeal.