
The Best Way to Move a Treadmill Across the Country – Step-By-Step Guide
Posted in Moving Essentials,Planning the Move on April 3, 2024
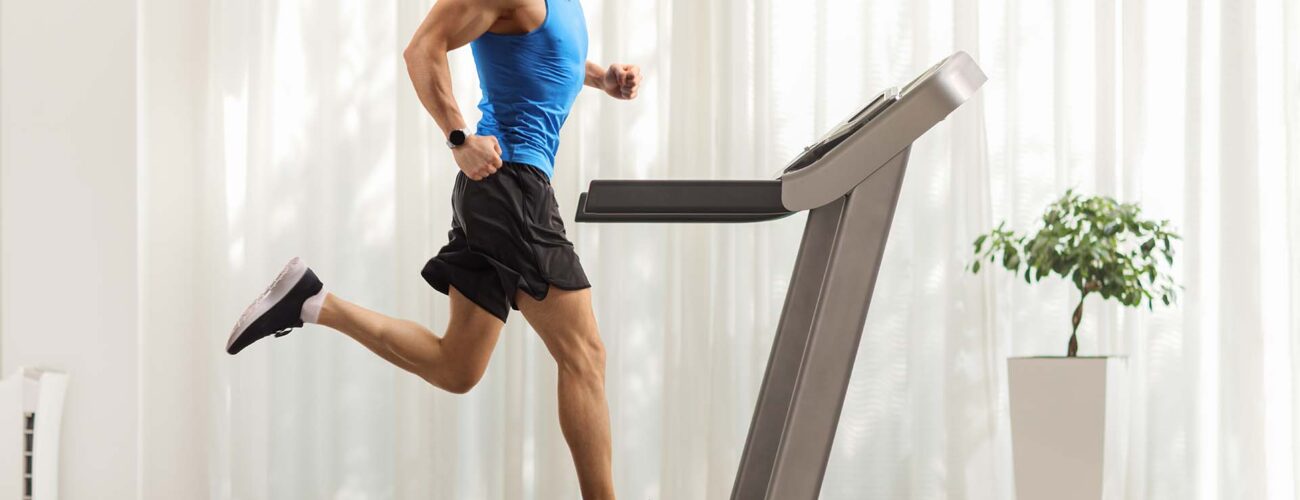
If you are a sports enthusiast looking to move a treadmill across the country, then you are in the right place. Our comprehensive guide is here to help you every step of the way. From preparing your equipment for a safe journey to choosing the best services, we’ve got all the tips and tricks you need. Let us ensure an efficient relocation of your trusted equipment and you’ll be running those miles in no time.
How to Move a Treadmill
Moving across the country involves several key steps to ensure the safe relocation of the gym equipment. Initially, prepare the treadmill by consulting the owner’s manual for specific instructions, and thoroughly cleaning and inspecting it for any issues.
Disassembly should be done with care, using the appropriate tools to safely remove parts like the console and belt.
Boxing up and protecting this object with proper materials is crucial for safeguarding it during transport.
Treadmill sales are growing at a rate of 4.3% annually
Getting the right moving equipment is essential for maneuvering the equipment into and out of the relocation truck, utilizing expert techniques for lifting and loading. Upon arrival, reassembling it correctly and conducting safety checks is a must. However, for a seamless journey, researching and choosing professional moving services can greatly contribute to the efficiency of the transporting process.
Ready to move with us?
Get A Free Quote
Step 1: Preparing Your Treadmill for the Move Is the Key
The first step in long-distance moving begins well before you box the machine up. It starts with a thorough preparation. This initial phase is critical for ensuring the safety and integrity of your belongings during shipping. Proper preparation allows smoother disassembly and transport and sets the stage for an efficient reassembly after relocating to a new home.
Consult the Owner’s Manual for Treadmill Moving Instructions
An often overlooked but essential resource, the treadmill’s owner’s manual, is your go-to guide for specific instructions on disassembly, moving, and reassembly. Each model has its unique design and features, which means the disassembly process can vary significantly from one machine to another.
Consulting the manual ensures you understand the specific steps and precautions needed to safely prepare your machine for the relocation. It will provide detailed instructions on which parts can be removed or folded and the proper method for doing so, ensuring you maintain its integrity and warranty.

Cleaning and Inspection Before Disassembly Is a Must
Before you begin the disassembly process, a thorough cleaning and inspection of the machine is imperative. Dust and debris can accumulate in moving parts over time, potentially causing damage during transport if not addressed.
Start by wiping down the exterior with a soft, damp cloth. Use a mild cleaner suitable for electronic devices to avoid damaging the screen or controls. Next, inspect the belt, electrical cords, and deck for signs of wear or damage, such as fraying or cracking. Check and ensure all screws and bolts are tight. Addressing these issues protects your equipment from damage and helps avoid potential injuries during the handling and loading process.

Dust off and clean the machine before boxing it up
Step 2: Disassemble the Treadmill With Care
Disassembling this machine carefully is crucial to ensure its components are protected during transit. This step makes the treadmill easier to transport and reduces the risk of damage to its intricate parts. Proper disassembly can significantly streamline the reassembly process, helping you get back to your fitness routine without unnecessary delays or complications.
The Necessary Tools Needed for Disassembly
Using the right tools for disassembly is not just about making the job easier. It’s about safeguarding your investment. Professional-grade tools can provide the precision and durability needed to handle the specific requirements of disassembling fitness equipment. To safely disassemble the treadmill and safeguard its parts, you’ll need these tools and packing materials:
- A set of screwdrivers (Phillips and flathead) for various screw types,
- An adjustable wrench and a set of Allen keys for bolts and nuts,
- A pair of pliers for any clips or fasteners,
- A container or baggies organize and store small parts like screws and bolts, preventing loss,
- Professional-grade moving blankets and bubble wrap for protecting delicate parts during the move.
Comprehensive Guide on the Disassembly Process
Disassembling this piece of equipment efficiently requires attention to detail and a systematic approach, particularly focusing on detachable parts such as the console and belt. Begin by powering down the equipment and unplugging it from the electrical outlet to ensure safety.
Typically, the disassembly process starts with removing the console. Carefully disconnect any cables connecting the console to the base unit, and keep all wires clearly labeled to simplify reconnection later. Next, proceed to detach the belt and deck. This may involve loosening or removing tension bolts and rollers.
Throughout this process, keep all removed screws, bolts, and small parts in labeled bags or containers. This organization is crucial for a smooth reassembly. Remember, taking photos or videos during disassembly can also serve as a helpful reference when it’s time to put it back together.
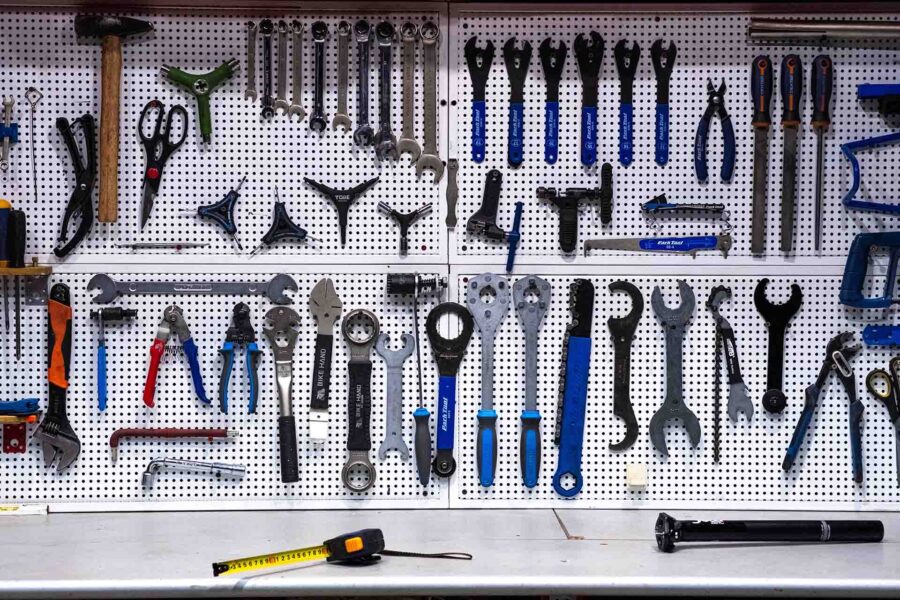
Use appropriate tools and equipment to safely disassemble the machine
Step 3: Pack and Protect the Treadmill for the Upcoming Journey
Once the electric device is disassembled, the next crucial step is to pack and protect its components for transport. Begin by wrapping smaller parts like the console, handles, and any detached accessories in bubble wrap to safeguard against impacts and scratches during the move.
For a frame and deck, use moving blankets to envelop them fully, securing the wrap with durable tape to prevent shifting. When loading it into the relocation truck, place heavier parts on the floor to lower the center of gravity and reduce the risk of movement.
Utilize ratchet straps or rope to firmly secure the components to the side rails of the truck. This way you’ll ensure they remain stationary and protected from damage caused by sliding or tumbling. Strategic positioning and effective stabilization are key to ensuring that this piece of equipment reaches you in the same condition it left.
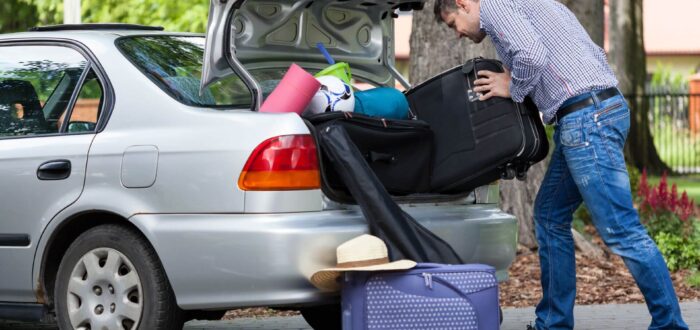
Step 4: Get the Right Moving Equipment to Move the Treadmill Safely
Securing the right equipment is fundamental because these bulky things are easier to tackle with the proper tools. The right equipment not only prevents damage to your treadmill but also safeguards against personal injury. You’ll need a furniture dolly or hand truck strong enough to support your treadmill’s weight for a smooth and stress-free move. Ratchet straps or ropes will secure the equipment in place, preventing shifts that could lead to damage.

Expert Techniques for Safe Lifting and Moving
Employing safe lifting techniques is crucial when moving heavy and large items. Always lift with your legs, not your back, to avoid strain or injury. When lifting the machine, keep it close to your body, and use a furniture dolly or hand truck to minimize physical exertion.
This equipment allows easier maneuvering through doorways and onto the relocation vehicle. If the device is exceptionally heavy or awkward, consider enlisting the help of friends or professional movers to ensure a safe and easier relocation.

Always keep your back straight and bend at your knees when picking up a heavy object
Step 5: Reassemble and Set Up the Treadmill Upon Arrival
Once the machine reaches you, reassembling it correctly is the next critical step. Begin by referring back to any photos or videos you took during disassembly, as well as consulting the owner’s manual for guidance. Start with the base and gradually work your way up, attaching the deck, belt, and finally, the console, ensuring each part is securely fastened.
Reconnect any wires or cables with care to avoid damaging electronic components. If parts don’t seem to fit easily back into place, double-check they are oriented correctly and in the right location according to the manual. Taking your time during this stage is key to a successful setup.
Don’t Skip on Safety Checks Before Use
Before you jump back into your workout routine, conducting thorough safety checks and necessary adjustments is essential. Verify that all screws, bolts, and parts are tightened and securely in place to prevent any potential accidents or damage. Test the stability of the device by gently shaking it to ensure there are no wobbling or loose components.
Additionally, start it at a low speed to confirm all electronic functions are working correctly, including speed adjustments, incline features, and emergency stop mechanisms. Performing these safety checks guarantees the equipment’s proper function and ensures your safety during use, allowing a seamless continuation of your fitness regimen.

Set your fitness equipment and run tests to ensure a correct setup
Research and Choose Reliable Long-Distance Movers
If you want to have a successful long-distance moving journey, selecting a trustworthy and legitimate company is crucial. Look for movers with extensive experience in similar relocations. Verify their credentials by exploring their record with the Federal Motor Carrier Safety Administration (FMCSA). Reading customer reviews can provide insight into their reliability and quality of service. It’s also beneficial to check their history of successful relocations.
Don’t underestimate the value of personal recommendations. Ask family and friends about their experiences with movers, specifically regarding their handling of gym equipment. Ensure you inquire about their insurance and liability policies. This step is vital to protect your belongings throughout the shipping process.
The Benefits of Hiring Professional Movers for a Safe Treadmill Transport
Hiring professional movers brings several advantages. Their expertise ensures that everything is packed, loaded, and transported with the utmost care, minimizing common mistakes and the risk of damage. Professionals are equipped with the right tools and supplies to handle expensive gym equipment safely.
Cross Country Movers stand out in this field. We are prepared to make your transition smooth and worry-free. Our comprehensive cross-country moving services include professional packing solutions, specifically designed to cater to your unique needs. Our team is equipped with the best tools and supplies, ensuring the safe transport of your valuable possessions.
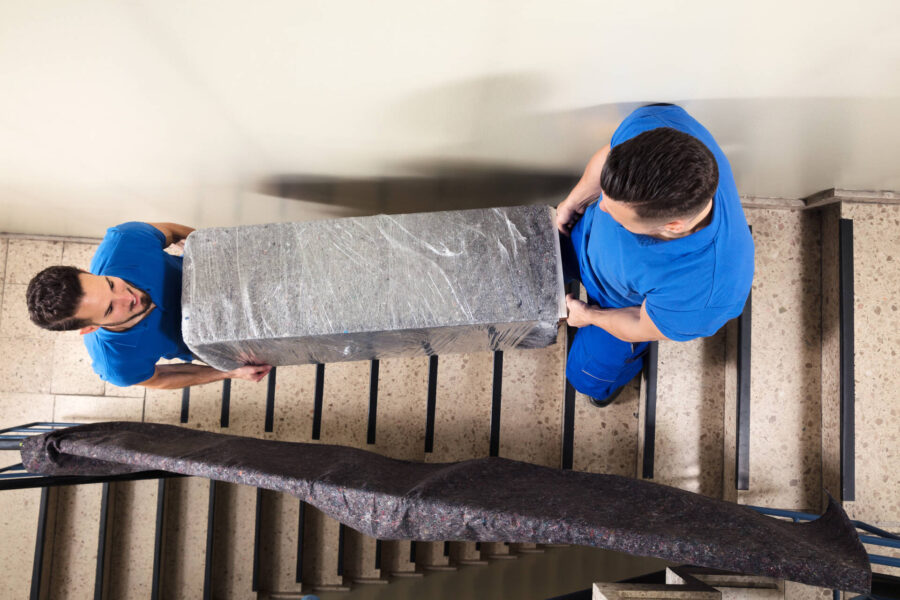
Professional cross-country movers know how to safely handle large objects
Cross Country Movers Are Here to Make This Journey a Smooth Endeavor
Moving cross-country comes with its own set of requirements and challenges. However, every relocation is different, so no single approach works for every scenario. Cross Country Movers excels in meeting these difficulties head-on. Our skilled team possesses the necessary experience, tools, and understanding of how to streamline this complex process. So, why wait any longer? Contact us today, and let us take care of the heavy lifting.
Frequently Asked Questions About Moving a Tredmill
What Should I Do if My Treadmill Doesn’t Fit Through the Door?
If it doesn’t fit through the door, the first step is to measure the door frame dimensions and compare them to the widest point on the machine to confirm the discrepancy. Next, consult its manual for instructions on partial disassembly. Most equipment can be partially taken apart to reduce their width or height.
Focus on removable parts like the console, handles, or base. Keep all screws and small parts in a labeled container for easy reassembly. If disassembly seems daunting, consider seeking professional help from movers experienced with gym equipment to prevent damage to the device and the home.
How to Move a Peloton Treadmill?
Moving this item requires careful planning due to its sophisticated technology and heavy build. Begin by powering down the equipment and unplugging it from the electrical outlet. Peloton recommends removing the touchscreen to prevent damage during transportation.
Use furniture blankets to wrap and protect the main body and components, securing them with relocation straps. Given its weight, employing a dolly or hand truck and enlisting the help of others for lifting is essential. Also, ensure the relocation vehicle is large enough to accommodate it safely.
How to Move the Nordictrack Treadmill?
To relocate a NordicTrack, start by turning off the equipment and unplugging it. Consult the user manual for specific instructions on folding or disassembling your model, as these machines often feature a foldable design for easier transport. Secure any loose parts with tape or wrap them in bubble wrap to prevent movement or damage.
For models that do not fold, removing the console or base may be necessary. Regardless, wrapping the main unit in furniture blankets and securing it with straps is crucial to protect it during transit. Use a furniture dolly or hand truck for transportation, and consider professional movers if the task exceeds your comfort level or capabilities.