
How to Pack Kitchen Items for Moving – From Cutlery to Appliances
Posted in How-to on August 10, 2021
Typically, the average-sized cuisine takes 10-15% of a home’s overall footage. This means that the storage space here has great potential for storing a lot of kitchenware. Knowing all the tricks on how to pack kitchen items for moving across the country will provide you with the ability to organize the whole process much more easily and quickly, so here is the ultimate guide on how to do it when relocating across the country!
When Should I Pack My Kitchen When Moving?
Planning a move to another city implies you should have a detailed timeline in order to organize your move and prepare everything you want to take. You should know that this is a multi-phase process, and there are too many items to take care of. You can start right after you confirm the relocation date – first, deal with the things you rarely use, and finish dealing with the rest before the relocation truck arrives.
Don’t Keep Asking Yourself “How to Pack My Kitchen Items for Moving Cross Country” Before Decluttering
One of the best packing tips for relocating we can share with you is not to even think about putting items into boxes until you declutter the house first. When relocating to a new home, you’ll want your household inventory list only to contain things that have use value. Decluttering will help you sort out all the things properly and decide more easily what you should get rid of and what to keep. This way, you’ll avoid cluttering your next place, and also, it will help you get the whole process over with more quickly and move efficiently.
How to Organize the Process?
Every cooking area contains a bunch of breakable and valuable things like silverware, appliances, and other kitchenware. So the first step is to take everything out of the cabinets, drawers, hutches, and other storage areas and divide all the possessions into categories.
The next step is to organize the boxing up zone, and for this purpose, you can use the island, breakfast corner, or dining room table. After you identify the belongings you want to put on the new apartment checklist, start to box them up by priority, beginning with the stuff you rarely use. Also, don’t forget to separate the pieces that will be packed in the relocation essentials box to serve you in the first days in your next house or apartment until your stuff arrives.
Small Boxes and Other Packing Materials You Need to Prevent Potential Damage
Glasses, plates, ceramics, bowls, bottles (wine or other), and other breakables require special treatment if you want to prevent them from any potential breakage or damage. The same goes for other appliances and kitchenware that can be easily scratched, damaged, or even broken.
So knowing the right packing techniques and gathering proper materials is of the utmost importance to prevent any unpleasant surprises and have a stress-free relocation. The materials you should get and use generously include:
- Cardboard or plastic boxes,
- Dish boxes,
- Packing paper,
- Bubble wrap,
- Padded divider sets,
- Foam peanuts,
- Sturdy tape,
- Tape gun,
- Labels for boxes.
You should always keep in mind that all your belongings will cross a long way until long-distance movers deliver them to your next home. This means that they should survive the loading, transportation, unloading, and unpacking. And if they will be stored in a storage facility provided by the cross-country company you choose, knowing how to protect items in storage units is also another important detail to take into consideration.
How Do You Pack Fragile Items for Moving a Kitchen – Protecting Glassware
Champaign glasses, white wine, and red wine glasses, beer mugs, martini, cocktail, or whiskey glasses, and the simplest ones – glasses for water are all possible types of glassware you might have. Dividing them into categories is the first step of packing fragile items. The next step is wrapping them up into the proper protective material and putting them into boxes.
To pack glasses, don’t skimp on paper and bubbles and wrap each glass separately. Of course, don’t forget to fill all the gaps in the carton once you put the glasses in there. If you can, get box dividers to prevent any potential contact between glasses.

How to Pack Kitchen Stuff for Moving – Bowls, Cups, and Teapots
Although boxing up the stuff that has an odd shape like teapots or coffee and teacups can seem challenging at first glance, the process is pretty much the same as with all other kitchenware.
When it comes to teapots, remove the lid first and wrap it separately from the teapot. Then, protect the teapot itself using paper and then bubbles, and put it in a small carton.
Since both have round shapes, cups and bowls are ideal to be packed together. Wrap up each thing separately first and then stack them one into the other. Medium-sized sturdy cardboard will be an excellent fit to box up these pieces.
Learn the Best Packing Techniques for Plates
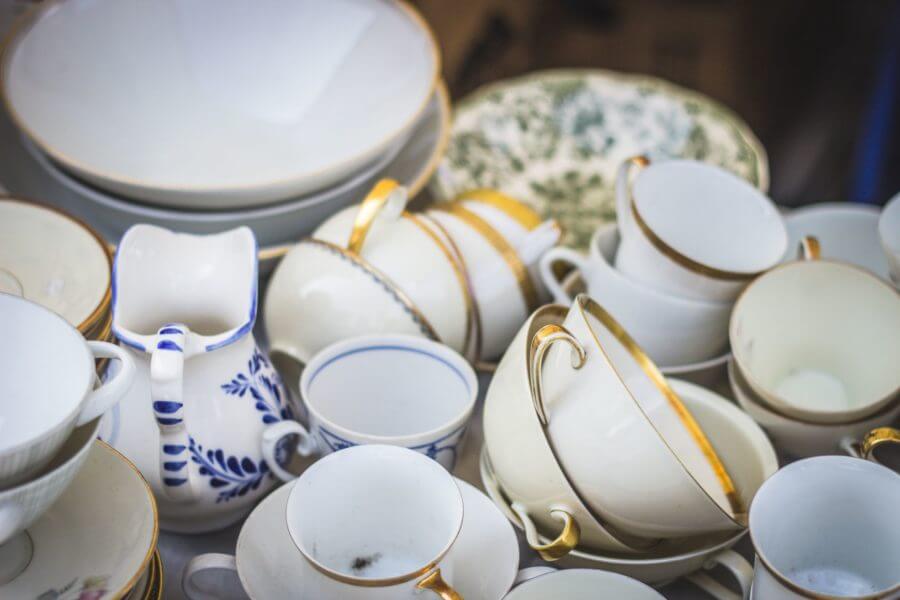
Did you know that for a family of four, it’s common to have at least two complete sets of dinner plates, salad plates, and bowls per person, totaling around 8-12 place settings? All those plates you use every day for serving food or have collected over the years as decoration deserve to be properly transported to another address. So if you’re wondering How to pack my kitchen items for moving and lower the risk of breaking them, here is the best technique you can apply when it comes to packing plates.
First, make sure to wrap each plate individually with papers and place it vertically in the carton. Dish boxes can be especially convenient for this purpose, so getting them in advance is definitely a good idea.

How Do You Pack a Kitchen for Moving When It Comes to Pots and Pans?
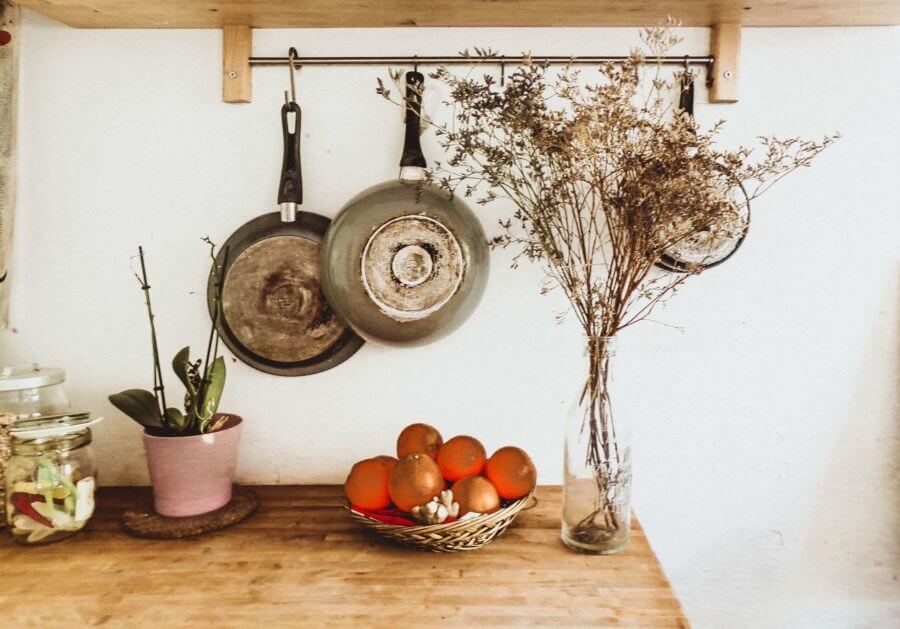
Complete packing of dishes includes the packing of pots and pans, too, because you will still need them to prepare delicious food in your next home. Since both pots and pans can be pretty heavy and massive, find containers of appropriate size. Most likely, you’ll need large ones. This task is quite more demanding than handling other kitchenware because you really need to put some effort into cleaning everything thoroughly. If there is any grease or moisture left, it could damage the cardboard.
Another important detail is that pots and pans require a lot of padding to prevent any contact between them and potential scratches. Layering the container with towels and clothes is a great way to create the padding your belongings need. Wrapping each pot, pan, and lid into paper will allow you to stack them one into another and save a lot of space.
Knives and Other Cutlery Require Special Attention
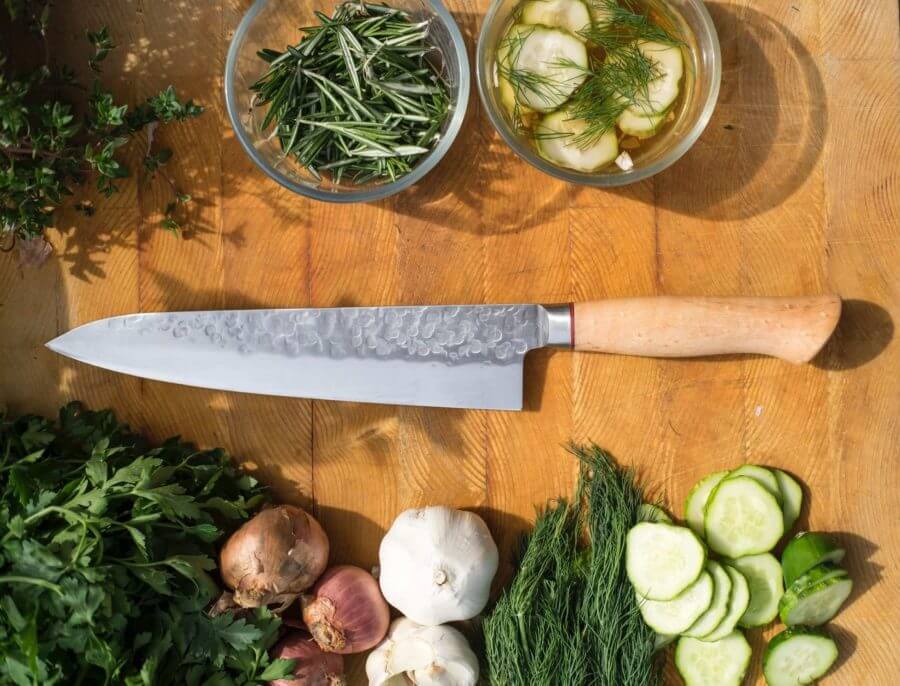
Since they can be dangerous to handle, you should pay special attention to knives. If you have a knife block, you can simply put the knives in there and tape them. Otherwise, we recommend wrapping each knife in a few layers of protective materials, putting them in a small-sized box, and labeling it properly.
How to Pack Plastic Kitchen Items for Moving? Don’t Forget Other Cutlery and Other Small Kitchenware
Cutlery, ladles, pancake turners, silicon spatulas, baking molds, and other plastic pieces of cookware are easy to move. Since none of those pieces are usually delicate, you can simply put them in a smaller box previously layered with protective materials and label it. This will be the best answer to the question of how to pack plastic kitchen items for moving, too.
How to Move Appliances Like the Stove or Refrigerator to a New Home?
Relocating the stove or refrigerator safely is absolutely possible if you use professional long-distance moving services. Since professional movers have all the equipment to move them properly, as well as all protective supplies, the whole process will be pretty easy. Although your cross-country moving service quote will be quite increased, still buying new appliances will be more expensive. So, explore all the packing services the cross-country movers provide, what the conditions for renting a storage unit are, and schedule them in advance.
Pack Small Appliances Only and Make Sure to Clean Them in Detail
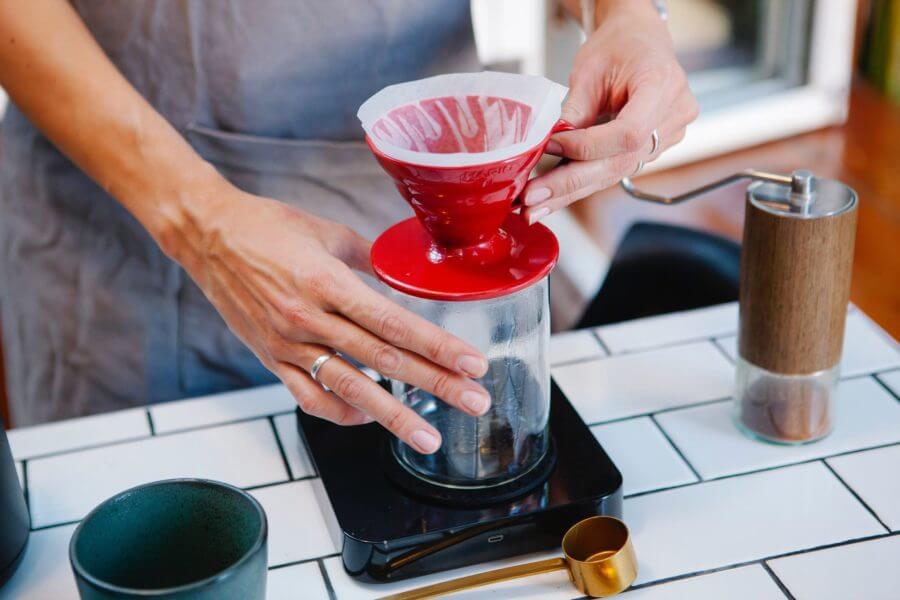
When relocating to a new state, one of the most common relocation mistakes you can make is to forget to bring small appliances to another house. Mixers, blenders, coffee makers, and more should definitely be on your list. Before you start to prepare them for transport – it would be perfect if you saved the original packages, and if not, get sturdy cardboard. Also, ensure to clean them in detail. This is especially important for coffee makers that contain filters and are not cleaned that regularly. The process stays the same as for all other kitchenware. Make sure all the stuff is dry, wrap it up in bubble wrap or papers, fill all the gaps in the container, and label it properly.
General Rules for Preparing Dishes and Other Kitchenware for a Move
Since the majority of kitchenware is breakable and prone to damage, there are some common, general rules applicable to each type:
- Pack only clean and completely dry cookware. In case you bring an item that has not been adequately cleaned and contains any traces of grease, it could damage the cardboard and expose the contents.
- Using all the necessary protective materials generously is required to keep everything safe, so don’t skimp on the supplies.
- The majority of kitchenware is pretty heavy – like pots, pans, plates. Using already-used containers, in this case, is not recommended. We are sure you want to avoid the possibility of the box’s bottom collapsing and breaking stuff into pieces. Instead, make sure to get sturdy cardboard or even plastic containers.
- Cushion the bottom of each box with at least a six inches layer of crumpled paper.
- Always put the heaviest items first and don’t overfill the boxes. Make sure that none of the boxes are heavier than 45 pounds. Always keep in mind that cardboard can easily be torn up if the contents are too heavy and that you’ll be lifting them!
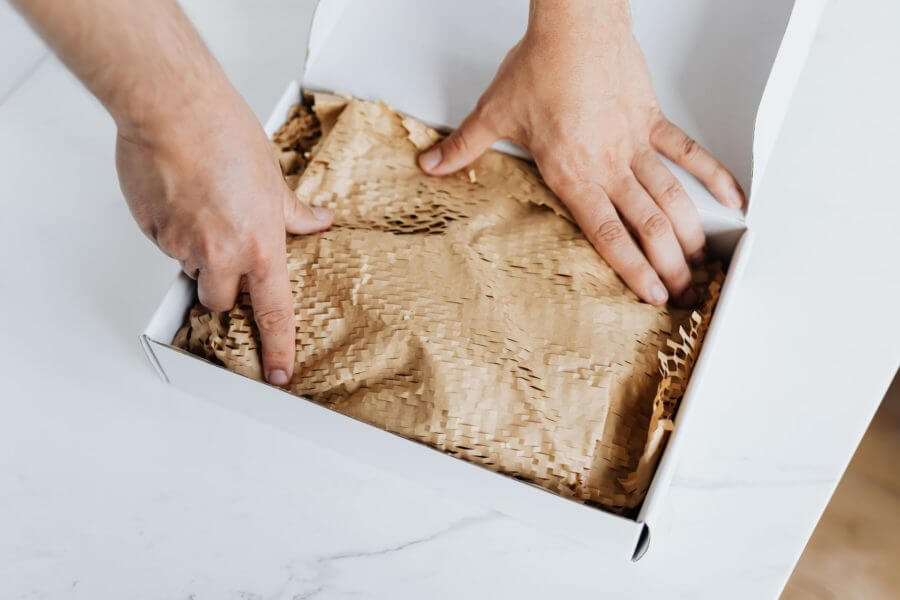
- Always fill all the remaining gaps in a container using foam peanuts, rags, or towels.
- Another essential step is to label the boxes. This is especially important to do for fragile belongings. This way, you’ll indicate to the cross-country movers how to handle each box and where to put it in the truck.
How Do You Pack Dishes for Moving Without Paper?
In case you want to try to prepare your dishes for a move without paper, the possible solutions include using old newspapers or magazines or wrapping some smaller pieces into clothes or towels. Still, be careful, because each one of these can be problematic. For instance, wrapping the dishes into newspaper can result in the print staining them. Rags or towels can protect things but won’t be enough on their own.
Prepare Some Food, Too
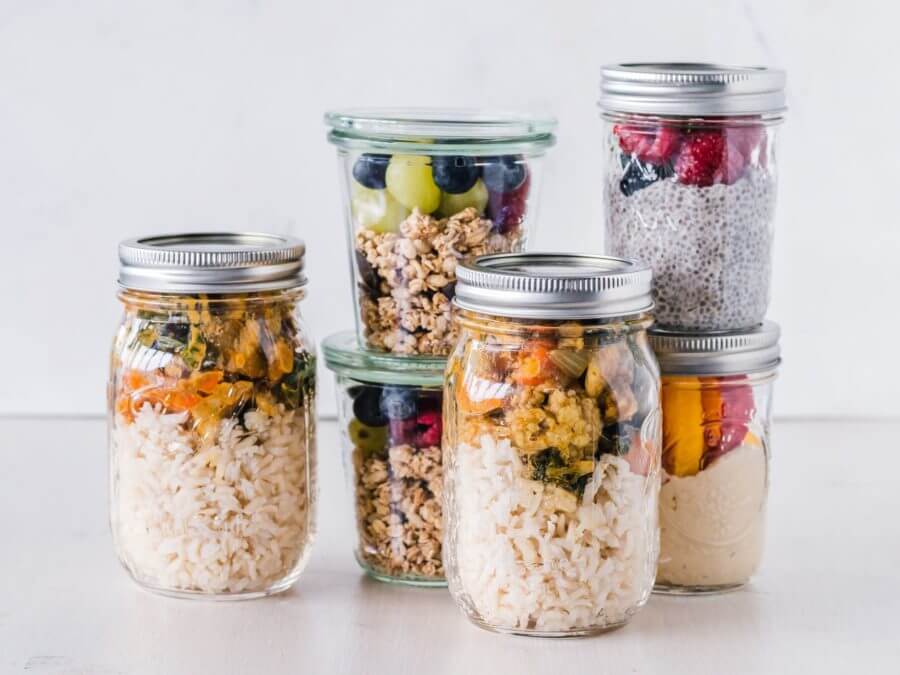
Getting prepared for moving cross country means you should be ready for a long trip to the next destination. Having a box of essentials that will contain medicines, laptops, chargers, toiletries, and clothes is necessary, but it won’t be of any use if you don’t have some food with you. Preparing some simple meals and snacks will not only help with hunger but will also provide you with the possibility to clean your refrigerator more easily.
Since the long-distance moving company you have chosen to take care of your relocation won’t accept to transport any perishable food due to legal restrictions, try to find a way to make snacks out of the leftovers or find a local charity that accepts food donations. Just don’t leave it in the refrigerator you’re going to unplug on the relocation day.
Have You Prepared Your New Kitchen Space for the Move-In?
Now that you’ve learned all the techniques that will help you prepare and move kitchenware, it is the right time to begin preparing your new home for all your stuff. This is especially important to do if you’re relocating into an apartment that could require some creative storage ideas to store all the belongings you have. Explore all the small apartment ideas and learn how to prepare your living space according to your needs, and the place you’re relocating to will soon become a real oasis.
FAQ
How Do I Start Packing My Kitchen Items for Moving?
Before you start packing, go through your kitchen and get rid of any items you no longer use or need. Gather necessary packing supplies, such as sturdy boxes, packing tape, packing paper, bubble wrap, and labels. Make sure to have enough supplies to protect your items during the move. Start by packing fragile items such as glassware, dishes, and stemware. Wrap each item individually with packing paper or bubble wrap, and then place them in a box with packing paper on the bottom and top to cushion them.
What Are Some Essential Packing Materials for Packing Kitchen Items?
Some essential packing materials for packing kitchen items include sturdy boxes, packing tape, packing paper, bubble wrap, and labels.
What Are Some Tips for Packing Fragile Kitchen Items, Such as Dishes and Glasses?
Choose strong cardboard boxes that can hold the weight of the dishes and glasses. Make sure the boxes are clean and in good condition. Wrap each dish and glass separately in packing paper, bubble wrap, or foam sheets to protect them from scratches and breakage. Use several layers of wrapping for extra protection. dd a layer of packing material, such as bubble wrap or packing peanuts, to the bottom of the box to cushion the items and provide extra protection.
How Do I Pack Kitchen Appliances, Such as Blenders or Mixers?
If possible, disassemble your appliances into their individual components. This will make them easier to pack and reduce the risk of damage during the move. Keep all the parts together in a labeled bag or container. Use bubble wrap, foam sheets, or packing paper to wrap each component of the appliance. Pay special attention to any fragile or delicate parts, such as glass jars or mixer attachments.
What Should I Do With Perishable Items in My Kitchen, Such as Food or Spices?
Perishable items in your kitchen, such as food and spices, require proper storage and handling to ensure they stay fresh and safe to consume. Check the expiration datesC on food and spices before using them. If the item has expired, it’s best to discard it to avoid the risk of food poisoning. For spices, use air-tight containers to keep them fresh and protect them from moisture and humidity. However, it would be best not to bring them with you when moving cross country.
How Do I Label My Packed Kitchen Items for Easy Unpacking?
Make sure your labels are clear and easy to read, and include a brief description of the contents. For example, instead of simply labeling a box “Kitchen Items,” you could label it “Pots and Pans” or “Silverware.” Assign a different color label or marker to each room or category of items. For example, you could use red labels for kitchen items, blue labels for bedroom items, and green labels for living room items. This can help you quickly identify which boxes belong in which room.
What Are Some Space-Saving Tips for Packing My Kitchen Items?
Use smaller boxes for heavier items, such as dishes and cookware. This makes it easier to lift and move the boxes, and helps prevent them from becoming too heavy. Fill pots and pans with smaller kitchen items, such as spices and utensils. This not only saves space but also helps protect fragile items. Use dish towels and oven mitts to wrap and protect dishes and other fragile items. This not only provides extra cushioning but also saves space by combining two items into one.
How Do I Pack Awkwardly Shaped Kitchen Items, Such as Pots and Pans?
If your pots and pans are nesting, meaning that they can be stacked inside each other, use this to your advantage. Place a layer of packing material, such as bubble wrap or packing paper, between each pan to prevent scratching, and stack them together in a box. This saves space and keeps the pans secure. Place dish towels or other linens between the pots and pans to protect them during transport. You can also wrap each pot or pan individually in a towel or blanket.
What Should I Do if I Have a Lot of Kitchen Items to Pack and Move?
If you have a lot of kitchen items to pack and move, you should start by decluttering and getting rid of any items you no longer need or use. Then, create a packing plan and gather all necessary packing supplies, such as boxes, packing paper, and bubble wrap.
How Do I Pack Fragile Kitchen Items That Are Irregularly Shaped or Difficult to Wrap?
Use plenty of padding and cushioning materials, such as bubble wrap or packing peanuts, to protect fragile items. Place padding around the item and inside any open spaces to keep it from moving around during transport. Make sure the boxes are in good condition and don’t have any holes or damage that could compromise the safety of the items inside. Clearly, label boxes containing fragile items as “Fragile” to ensure they are handled with extra care.
What Should I Do With Kitchen Items That Are Too Large to Fit in Boxes, Such as a Refrigerator or Oven?
For large appliances, it’s generally best to hire professional movers who have experience with packing and moving these items safely and efficiently. Before the long-distance movers arrive, prep your appliances by cleaning them thoroughly, removing any detachable parts, and securing all loose items. For example, you should remove shelves from the refrigerator and secure them with tape. Use moving blankets to protect appliances from scratches and damage during transport.
How Can I Ensure My Kitchen Items Are Protected During Transit?
Make use of high-quality packing materials such as packing paper, bubble wrap, and packing peanuts to protect fragile items like glasses and dishes. Use dish towels and linens to wrap larger items like pots and pans. Pack items tightly in boxes, filling any empty space with packing materials to prevent movement during transit. Stack boxes carefully, with the heaviest boxes on the bottom and the lightest boxes on top.
What Should I Do With Kitchen Items That I Don’t Plan on Bringing to My New Home?
Consider donating your unwanted kitchen items to a local charity or thrift store. Many organizations will gladly accept donations of gently used kitchenware, such as dishes, utensils, and small appliances. If you have kitchen items that are in good condition and worth some money, you could sell them online or at a yard sale. This is a good way to make some extra cash and reduce the number of items you need to move.
How Do I Unpack My Kitchen Items After Moving?
Unpacking your kitchen items after a move can be an exciting and rewarding experience, as it allows you to set up your new home and make it your own. It can be a fun and enjoyable experience if you make it a game or involve your family and friends. You could challenge each other to see who can unpack the most boxes in a set amount of time, or have a potluck dinner to celebrate your new home. Unpack the items you use every day first, such as plates, cups, and utensils. This allows you to quickly get back to your regular routine and feel at home in your new space.
What Are Some Ways to Make the Unpacking Process of My Kitchen Items More Organized and Efficient?
To make the unpacking process of your kitchen items more organized and efficient, create a plan, unpack the essentials first, organize items as you unpack, use a labeling system, set up your kitchen in a logical way, and consider using organizers and storage solutions.


