Yes, when moving craft supplies across the country, shipping certain items separately can be a safer and more efficient option—especially for fragile, valuable, or temperature-sensitive materials. Shipping carriers often provide climate-controlled and insured services ideal for delicate supplies like paints, resins, or handmade projects. This approach can help you avoid potential damage from long hours in a moving truck and reduce overall moving weight. Be sure to pack shipped items securely, using bubble wrap and sturdy boxes labeled “Fragile – Craft Supplies.” Combining shipping with your cross-country move gives you more control and protection for your most important materials.

How to Pack Craft Supplies When Moving Across the Country
Posted in How-to on November 27, 2023
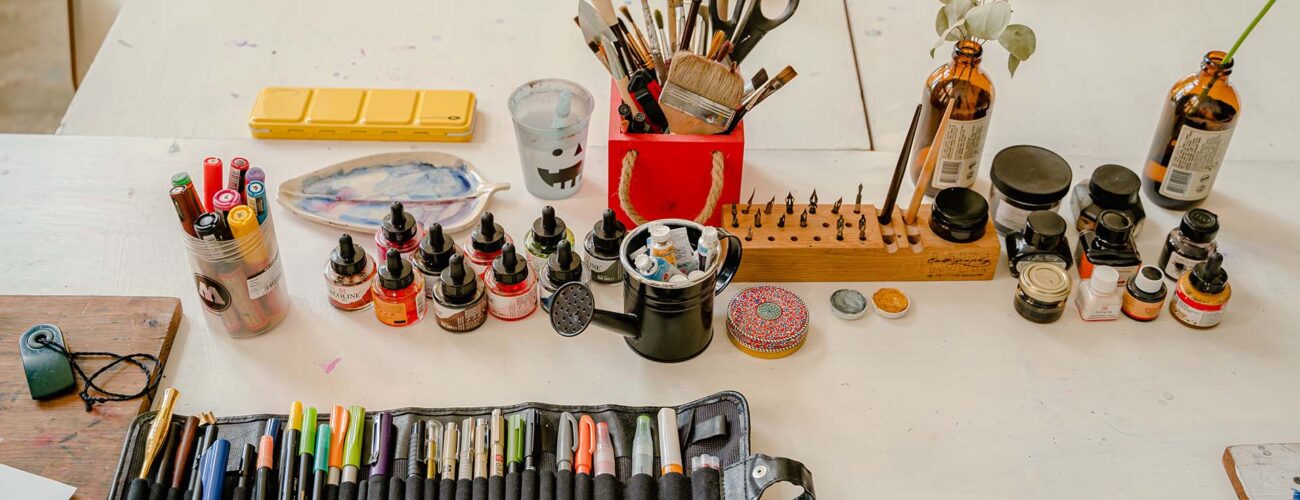
Moving cross-country brings a whirlwind of emotions and tasks. For crafting enthusiasts, ensuring their cherished supplies travel safely is paramount. If you’re wondering how to pack craft supplies effectively for such a significant move, you’re in the right place. Our guide will illuminate each step, ensuring your creative treasures arrive undamaged and ready to inspire once more.
Proper storing of your valuable possessions is vital to prevent damage during relocation. To ensure a smooth boxing-up process, you’ll require specific materials tailored for fragile and varied items. By following our guide on how to pack art supplies for moving, you’ll have a comprehensive roadmap. Remember to label each box and maintain a detailed inventory. For a seamless experience, consider hiring professionals, allowing them to elevate the safety and efficiency of your move.
Why Proper Packing Is Crucial
Craft supplies, with their innate fragility, diverse sizes, and often significant value, demand meticulous care during relocation. Each bead, thread, or paint tube holds not just monetary worth but also an integral part of your creative journey.
Proper organization of the boxing-up process becomes especially crucial for long-distance moving, where the chances of relocation mistakes, mishandling, or damage increase. However, ensuring each item is appropriately packed is more than just a good organization. It’s about preserving the quality and integrity of goods that fuel your creativity.
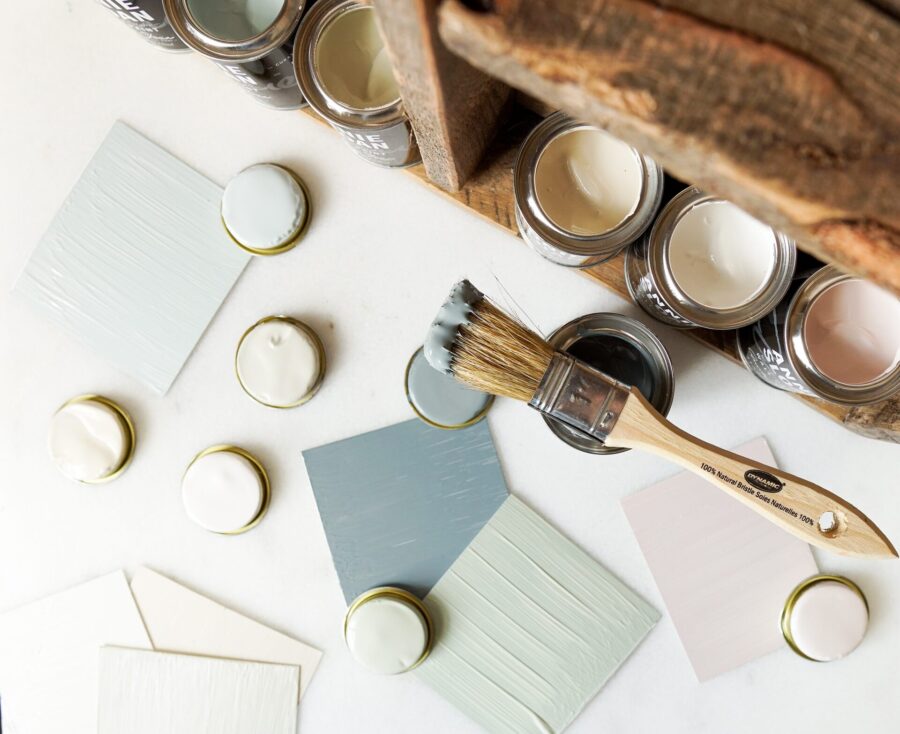
Preserving the quality of your crafting supplies when relocating is a must
Materials You’ll Need for a Smooth Boxing-up Process
Keep in mind that different packing materials play a pivotal role in any moving endeavor, especially when it comes to safeguarding precious and fragile items like art goods. The right materials can be the difference between your treasured items arriving in pristine condition or being damaged during transit. Here’s a list of materials that are essential for a stress-free relocation:
- Bubble wrap – offers cushioning for delicate and fragile items.
- Clean paper – provides a buffer, preventing scratches or abrasions between items.
- Zip bags – ideal for categorizing and protecting small, easily lost pieces and preventing leakage.
- Sturdy plastic containers – these are essential for containing liquids or items that need additional protection.
- Durable tape – ensures boxes remain securely sealed during transit.
- Markers – for clear labeling of the crates and bags, helping in quick identification and unpacking.
While the importance of these materials can’t be overstated, sourcing them doesn’t have to be a challenge. Most of these essentials can be procured from local supply stores or hardware outlets. Otherwise, if you opt to get professional packing assistance, you won’t have to get any of the materials yourself. Everything you need is included in the service. Remember, investing a bit more in high-quality materials upfront can save a lot of relocation stress and potential loss in the long run.
Ready to move with us?
Get A Free Quote
Types of Craft Supplies and Specific Packing Requirements
Crafting enthusiasts often curate a diverse range of supplies, with each piece holding a unique place in their creative arsenal. From vibrant paints and delicate fabrics to intricate beads and versatile paper varieties, the spectrum is vast and varied.
However, this diversity in crafting supplies means that a one-size-fits-all packaging won’t suffice. Paints, for instance, may need leak-proof containers, while fabrics benefit from wrinkle-free packing.
Beads, being small and easily scattered, demand secure and clear containers, whereas paper and sketches need flat surfaces to prevent bends and creases. Recognizing these distinctions and adapting unique packing strategies for each type is essential to ensure their safe and organized relocation.
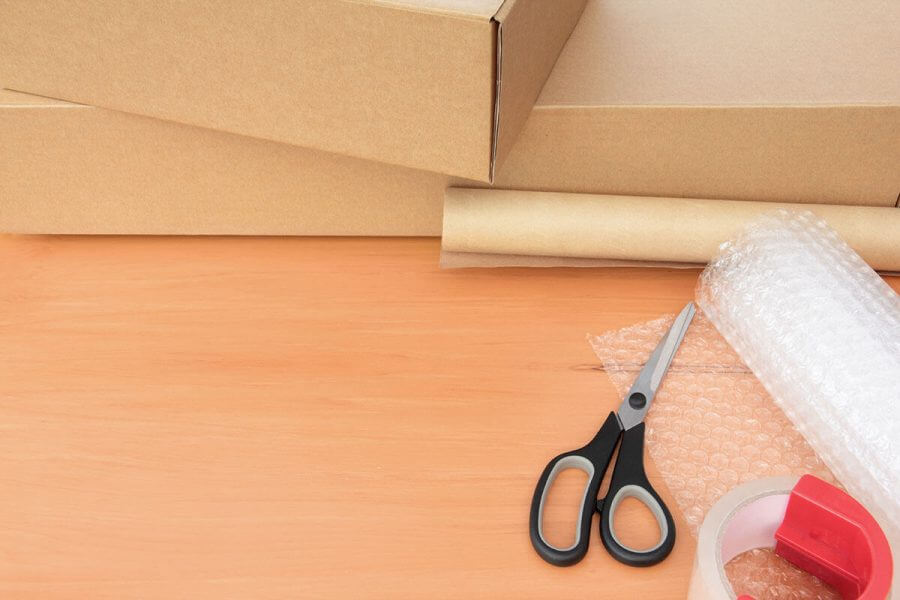
Proper materials are the difference between your goods arriving in pristine or damaged condition
How to Pack Craft Supplies – A Comprehensive Guide
Craft supplies, whether it’s your livelihood or a passionate hobby, are delicate, varied, and often hold sentimental value. Ensuring they reach your new home safely is more than just a logistical need – it’s preserving the essence of your creativity.
Just as you would take time to choose the right materials for your projects, the same meticulous attention is required when storing these treasures for relocation. Inadequate packing can result in damaged items, lost materials, or even a stalled creative process.
By following this ultimate guide, you are allowing your artistic endeavors to continue without a hitch. The proper boxing-up process can’t be overstated, so let’s delve into how it’s done right.
Sort, Categorize, and Prepare the Supplies for Packing
This step is crucial because it simplifies the packing process, ensuring similar items are stored together. Tips for categorizing your goods include grouping items based on their type, use, or material. For instance, all fabrics can be grouped together, while adhesives have their separate section.
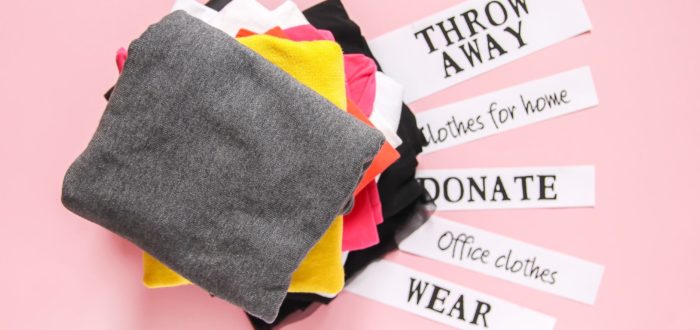
Equally vital is the process of downsizing. Relocation offers a golden opportunity to assess your collection. Decide on items that are still usable, ones you can donate to platforms like Freecycle.org, and those that need to be thrown away. This not only reduces the volume of items to be moved but can also lead to a more organized crafting space in your new location.
If you’re not sure whether to keep or throw away something, here are a few things to consider when decluttering your crafting goods.
Storing Small Items Together
Small craft items like beads, buttons, and sequins can easily get lost or mixed up during a move. The key here is to pack these small, loose items securely. Using zip bags or small containers with secure lids can be immensely helpful.
Label each bag or container so you instantly know its contents. By doing this, you also ensure that you can quickly locate and utilize them in your new space without unnecessary hassle.
Securing Paints and Liquids
Liquids, especially craft paints and glues, can be notorious during a move. Spills can not only ruin other craft supplies but can also damage other household items. It’s paramount to ensure lids are tightly secured.
Wrapping the mouth of the bottle with plastic wrap before screwing the lid on can offer additional spill-proof security. For extra protection, consider placing these bottles in zip bags, ensuring any accidental spill is contained.
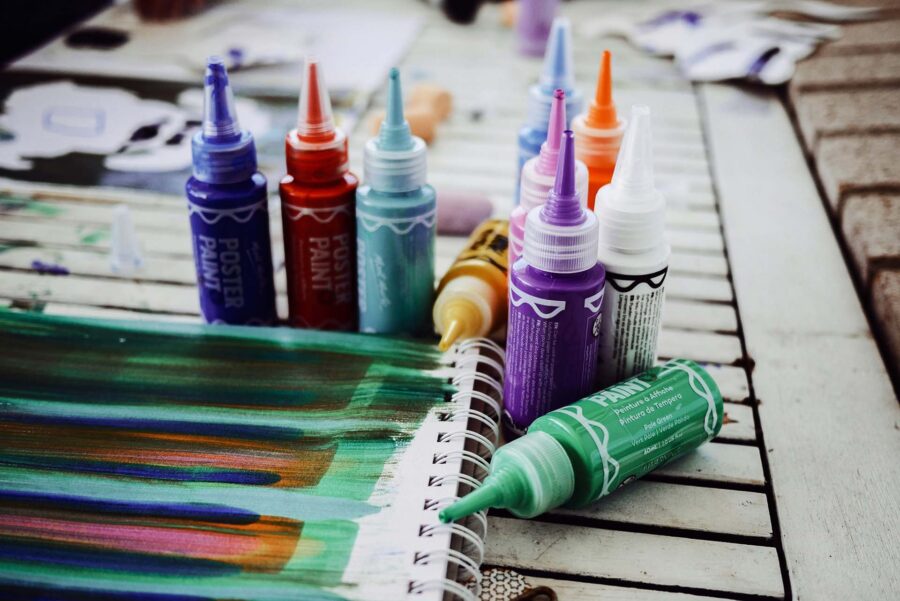
Use a plastic wrap to stop the paint from spilling out of the tube
Wrapping Fabric and Yarn
To keep fabric and yarn clean and wrinkle-free, roll them neatly. Use plastic wrap or bags to cover them, which will protect against dust, moisture, and potential spills. For yarn, ensure the ends are tucked in to avoid tangling.
Packing Paper and Sketchbooks
Craft papers, especially those used for sketches and designs, are prone to bends and creases. To prevent bending and creasing, place sheets of cardboard between pages or around sketchbooks. You can also use plastic covers for added protection against potential water damage or spills. If you have multiple papers, consider bundling them together with a soft ribbon or string.
Boxing up Tools and Machines
Packing tools and machines require a bit more attention. Sharp or pointed tools like scissors and cutters should be wrapped in cloth or bubble wrap, ensuring they won’t pierce through boxes or injure someone handling them.
For machines, refer to their original packaging if you still have it. If not, ensure the machine is well-cushioned in the box, with no room to move around. Also, remember to secure any moving parts.
When boxing up sewing machines or Cricut cutters, it’s a good practice to note down any specific settings so you can quickly set them up again in your new crafting space. Ensure that the integrity and settings of these machines are maintained for a smooth transition.

Creating an inventory will streamline your unboxing process
Label Your Boxes and Take Inventory of Your Goods
Knowing exactly where each item is located makes unboxing after a move so much easier. Label each box clearly, specifying its contents, from “Yarns & Threads” to “Beads & Embellishments” or “Paints & Brushes.” The more specific you are, the better. For an added layer of organization, consider using color-coded stickers for different types of supplies.
Alongside this, maintain a detailed inventory list. This list not only helps you track each bead and bobbin but also ensures you can quickly resume your craft projects in your new space without hunting for items.
Additional Tips That Could Make This Process Smoother
Beyond the foundational packing strategies, a few additional pointers can make your move even easier. Firstly, stay consistent with your boxing-up pace, aiming to tackle a specific category of craft supplies each day. This method ensures you don’t hit a last-minute rush and compromise the safety of your items.
Moreover, the concept of a “first-day craft box” can be a game-changer. Just as some people have a first-night box with essentials for their new home, crafters can benefit from a similar idea. This box should contain the essentials you’ll need to dive back into your craft as soon as you arrive, whether it’s to unwind or fulfill a client’s order.
Having immediate access to your crucial tools and materials will make the transition feel seamless and ensure your creative flow isn’t interrupted by the chaos of the relocation to the new home. And on the off chance that something goes missing or is left behind, don’t fret. Stores like The Woodturners Catalog offer a wide variety of crafting supplies, ensuring you can quickly replenish any lost items and keep your creative momentum going.

If you need any assistance, book long-distance movers for a stress-free relocation
Hire Cross Country Movers and Give Your Creativity New Dimensions
At Cross Country Movers, we understand the intrinsic value of your possessions and the importance they hold in your creative journey. With our specialized cross-country moving services, we’re committed to ensuring every bead, brush, and spool reaches your new destination just as you left them.
As you embark on this new chapter, let us glide through the relocation like a swift and colorful brushstroke, bringing the smooth transition your creativity deserves. Ready to give your artistry new dimensions in a different locale? Contact us today and watch us shake your world with precision and care.
FAQ
Is It Worth Moving All My Craft Supplies Across the Country, or Should I Consider Donating Some?
When moving craft supplies across the country, it’s smart to take only the items you truly use and donate the rest to reduce weight and costs. Long-distance moves can get expensive, especially if you’re hauling bulky materials or duplicates. Sort through your collection and separate must-have tools from older or rarely used items. Donate extra supplies to schools, art centers, or community programs where they’ll be appreciated. Streamlining your collection before a cross-country move keeps your packing lighter and your new craft space more organized.
What Are the Essential Packing Materials Needed for Craft Supplies During a Cross-Country Move?
The essential packing materials for a cross-country move include sturdy plastic bins, bubble wrap, zip-top bags, packing tape, and dividers. Long-distance travel exposes items to vibration, shifting, and temperature changes, so durability is key. Use clear bins to identify contents quickly, and line them with packing paper to prevent movement. Label each bin clearly with the type of supplies and a “Fragile” tag if needed. Investing in strong materials ensures your craft supplies stay safe during the long journey.
How Can I Prevent My Paints and Liquid Craft Supplies From Leaking During a Cross-Country Move?
To prevent leaks during a cross-country move, tightly seal all paint and liquid containers, then wrap each lid with plastic wrap before closing. Place the bottles in sealed zip bags and pack them upright in a sturdy plastic tote lined with absorbent paper. Avoid exposing them to extreme heat or pressure, which can cause expansion or spills. Label the bin “Liquids – Keep Upright” so movers handle it correctly. Proper sealing and separation protect your supplies and prevent messy accidents on long trips.
What’s the Best Way to Keep My Fabric and Yarn Clean and Wrinkle-Free During a Cross-Country Move?
The best way to protect fabric and yarn during a cross-country move is to pack them in vacuum-sealed or airtight plastic containers. These containers keep out dust, humidity, and pests that can cause damage during long transport. Fold fabrics neatly, layering tissue paper between folds to prevent creasing. Wrap yarn in plastic wrap or zip bags to stop tangling and stretching. With airtight packing, your materials will arrive clean, fresh, and ready to use in your new home.
How Should I Pack My Fragile Craft Items Like Glass Beads or Ceramics for a Cross-Country Move?
When moving fragile craft items across the country, wrap each piece in bubble wrap or tissue paper and place them in small compartmentalized boxes. Cushion the box with foam or packing peanuts to absorb vibration. For added safety, place smaller boxes inside a larger, padded container. Label everything “Fragile – Craft Materials” and ensure the boxes stay upright. This layered protection minimizes breakage during long-distance transport.
Do I Need to Disassemble My Craft Machines Like Sewing Machines or Cricut Before a Cross-Country Move?
Yes, before a cross-country move, you should secure or disassemble your craft machines to prevent damage from movement and vibration. Remove detachable parts, accessories, and needles, and pack them separately in labeled bags. Wrap the main unit in bubble wrap and pack it in its original or a reinforced box. Avoid stacking heavy items on top. Proper disassembly ensures your machines survive the long trip in perfect working condition.
How Can I Keep My Craft Supplies Organized for an Easy Setup After a Cross-Country Move?
To stay organized after a cross-country move, pack your craft supplies by category and label each box clearly with contents and room location. Use color-coded stickers or numbers that match a written inventory list. Keep a small “essentials” box with basic supplies you’ll need right away, such as scissors, glue, and thread. Take photos of your organized craft area before packing—it helps when setting up your new space. This method makes unpacking faster and prevents misplaced materials after the long move.
What’s the Safest Way to Transport Sharp Craft Tools Like Scissors, Blades, or Needles Across the Country?
The safest way to transport sharp craft tools during a cross-country move is to wrap them securely and pack them in hard cases or tool rolls. Cover sharp points with corks, caps, or folded cardboard for extra protection. Store the tools inside a small, labeled container away from fabrics and fragile items. Avoid placing them loosely in boxes to prevent injury or punctures. Careful packing ensures both your safety and your supplies’ protection during long-distance travel.
How Do I Protect Paper Crafts and Scrapbooking Materials During a Cross-Country Move?
To protect paper crafts and scrapbooking materials during a cross-country move, store them flat in rigid plastic or portfolio boxes. Keep them dry by adding silica gel packets to absorb moisture. Avoid bending or stacking heavy items on top. Wrap finished projects in acid-free tissue paper to prevent sticking or smudging. These precautions keep your creative work crisp and undamaged through long transport.
Should I Use Plastic Bins or Cardboard Boxes for Craft Supplies When Moving Across the Country?
Plastic bins are the best option for moving craft supplies across the country because they’re more durable and moisture-resistant than cardboard boxes. Long-distance travel can expose boxes to humidity and shifting, so plastic ensures better protection. Clear bins also help you see what’s inside without opening everything. Use foam or paper to prevent items from sliding inside. Sturdy plastic containers give your supplies a safe and reusable home during and after the move.
How Can I Prevent Temperature Damage to My Craft Supplies During a Cross-Country Move?
To prevent temperature damage during a cross-country move, avoid leaving sensitive supplies—like paints, glues, or wax—inside hot trucks or cars. If possible, transport temperature-sensitive materials in climate-controlled containers. Wrap them in insulating materials like towels or bubble wrap for extra protection. Avoid placing these boxes in direct sunlight or near vents. Maintaining stable conditions helps preserve your supplies’ texture, color, and quality.
What’s the Best Way to Pack Glitter, Sequins, and Small Embellishments for a Cross-Country Move?
The best way to pack glitter, sequins, and tiny embellishments for a cross-country move is to use small, sealed containers or craft organizers with locking lids. These prevent spills and make it easy to find what you need later. Tape the lids closed to prevent accidental opening during travel. For extra protection, place smaller containers inside a larger, padded bin. Secure storage ensures you won’t arrive to find a glitter-covered mess in your new home.
Can I Pack Cleaning Tools Like Mops, Brooms, and Buckets With Craft Liquids During a Cross-Country Move?
No, it’s not advisable to pack cleaning tools with craft liquids when moving across the country, as moisture or leaks can damage supplies. Store liquids like glue and paint separately in sealed, upright containers. Keep tools clean, dry, and packed in their own bin to prevent contamination. Label both bins clearly to avoid confusion. Separation reduces the risk of mess and protects both your equipment and craft materials over long distances.
How Should I Label Boxes of Craft Supplies for a Cross-Country Move?
When labeling boxes for a cross-country move, include both the contents and handling instructions like “Fragile,” “Keep Upright,” or “Temperature Sensitive.” Use bold, waterproof markers and color-coded labels for different craft types. Add your name and new address in case a box gets misplaced. Clear, descriptive labeling helps movers handle your materials with care. Organized labeling also speeds up setup once you arrive.
How Do I Pack and Move My Craft Desk or Workstation Across the Country?
To move your craft desk across the country, disassemble large pieces and wrap parts individually in moving blankets or bubble wrap. Secure hardware like screws and bolts in labeled plastic bags. Protect surfaces with cardboard or foam sheets to prevent scratches. Keep drawers empty or use them to store lightweight items like fabric. Careful packing ensures your workstation arrives ready to reassemble and use.
What’s the Best Way to Transport Finished Craft Projects During a Cross-Country Move?
The best way to transport finished craft projects across the country is to wrap each item carefully in tissue paper or bubble wrap and place them in rigid containers. Use dividers for framed art, models, or sculptures to prevent shifting. Label each box “Completed Projects – Fragile” to remind movers to handle it gently. Avoid stacking heavy boxes on top of your crafts. Proper packing keeps your creative work intact from start to finish.
How Can I Make Sure My Craft Supplies Don’t Get Lost During a Cross-Country Move?
To prevent losing craft supplies during a cross-country move, create an inventory checklist and number every box. Use matching numbers on both the list and boxes for easy tracking. Keep small or expensive items in a personal vehicle instead of the moving truck. Photograph your packed bins before loading them. This organized system helps you confirm that everything arrives safely at your destination.
