
How to Pack a Garden Swing for Moving Across the Country
Posted in How-to on November 3, 2023
Setting your sights on a cross-country relocation? Don’t leave your garden swing hanging! Dive into our helpful guide on how to pack a garden swing for moving and ensure your trusty relaxation companion joins the journey, ready for the next chapter. Swing into action with us, and let us make your relocation one to remember.
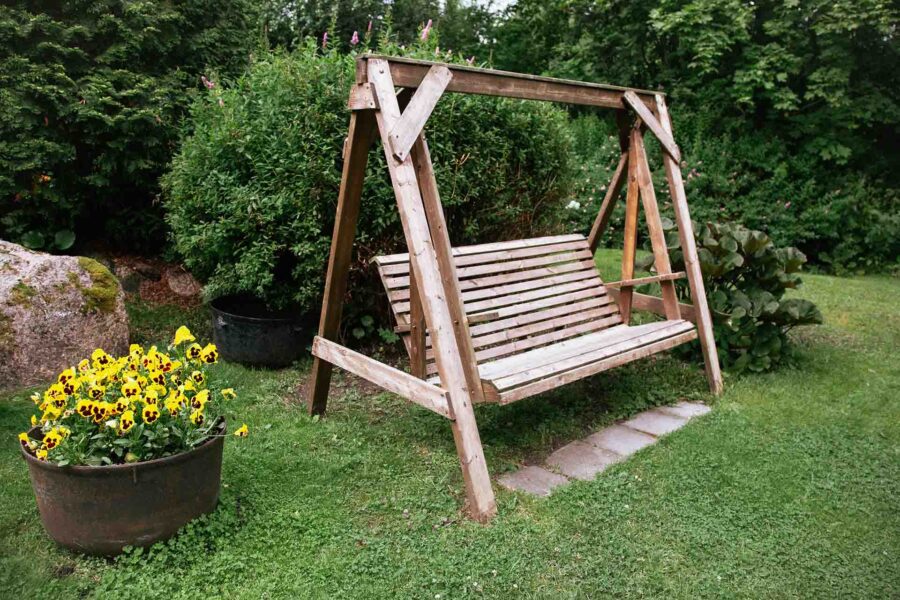
When packing a garden swing for moving cross-country, start by gathering the necessary supplies. Disassemble it and protect individual components with moving blankets or bubble wrap and secure them with tape. Fold and pack cushions separately, and place all parts in a sturdy, appropriately sized box. Label the box for easy identification during the move. If the process seems daunting or you prefer an expert touch, consider hiring professionals for the job.
Why Proper Packing Matters
Proper organization of your packing process is paramount when preparing items for long-distance moving, especially something as intricate as a garden swing. The risks of neglecting this crucial step are multifaceted. Improper packing can lead to damage during transit, from minor scratches to significant structural harm. There’s also the nightmare scenario of arriving at your destination only to find essential parts missing, turning reassembly into a frustrating puzzle.
Beyond the physical and logistical issues, there’s a financial dimension to consider. While it might seem cost-effective to rush this process, any relocation mistake, damages, or losses could result in replacement or repair costs that far outweigh the initial savings. Simply put, investing time and effort into proper packing strategy can even save money, time, nerves, relocation stress, and the potential heartache of seeing cherished items damaged.

What Materials Are Needed to Pack the Garden Swings
Ensuring the safe and efficient relocation of your item begins with choosing the right supplies. The correct tools can be the difference between your possessions arriving in pristine condition or suffering unnecessary damage.
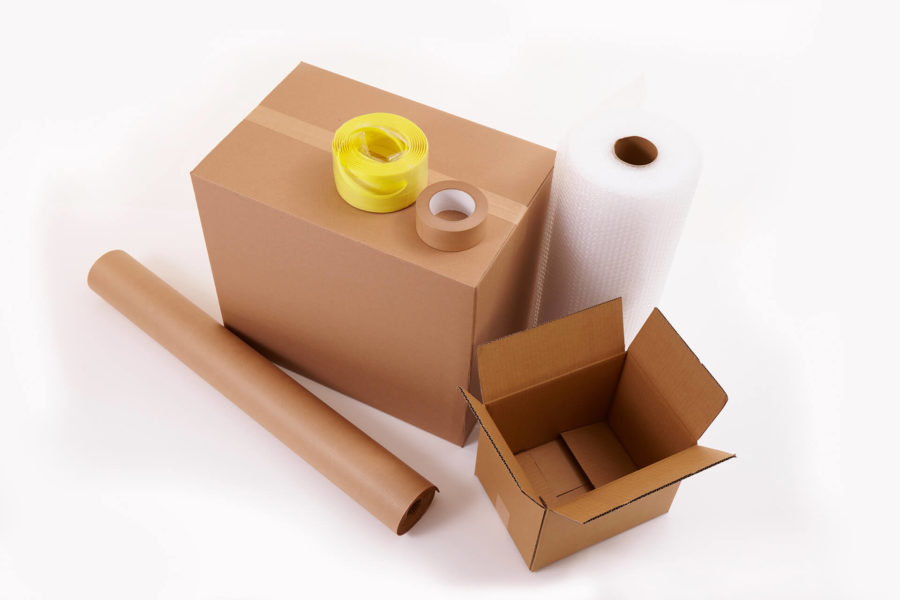
Selecting and utilizing quality materials guarantees that every component is safeguarded against potential hazards during transit. Here’s the list of different packing materials you’ll need for a stress-free relocation experience:
- Bubble wrap – offers cushioning against impacts, preventing scratches and damages.
- Cardboard boxes – ideal for smaller components or detachable parts. Ensure the crates are sturdy.
- Duct tape – secures boxes and wraps, ensuring everything remains tightly packed.
- Zip ties – useful for bundling and securing any loose parts or components together.
- Moving blankets – these offer an additional layer of protection, especially for larger or more delicate sections. They can be wrapped around the item and secured with tape or ties.
- Labeling materials – helps in organizing and ensures you know exactly what’s in each box, making reassembly and unpacking after moving easier.
- Zip bags – great for keeping hardware and other smaller components.
Once you’ve assembled your packing checklist, the next step is acquisition. Most of these materials can be readily found at local moving supply stores or home improvement centers. Additionally, consider checking online marketplaces for bulk deals or specialized items. As a side note, if you book professional long-distance movers and get packing assistance, you likely won’t need to get anything yourself, as these comprehensive services often come with all the supplies included.

Take Some Preliminary Steps Before the Boxing-up Process
Before you even begin boxing up, it’s essential to take a few preparatory actions. These initial steps will not only make packing easier but also ensure the integrity of this outdoor object during transit.
Clean the Garden Swing Before Dismantling It
Dirt, grime, and accumulated outdoor residue can cause complications during reassembly. Ensure you give your outdoor object a thorough clean, wiping down all surfaces and cushioning while removing any accumulated debris. This not only ensures a fresh start at your new place but also prevents potential damage or staining from trapped dirt during transit.
Check the video below for some tips on how to clean and dry your outdoor cushions.
Take Inventory of All the Parts and Pieces
Disassembling a complex item can often feel like solving a puzzle, and it’s easy to lose or misplace pieces. To avoid confusion, list down every part as you remove it. Creating a comprehensive relocation inventory ensures that every piece is accounted for, making the reassembly process at your destination more straightforward.
Take Photos of Your Object for Easier Unboxing and Assembly
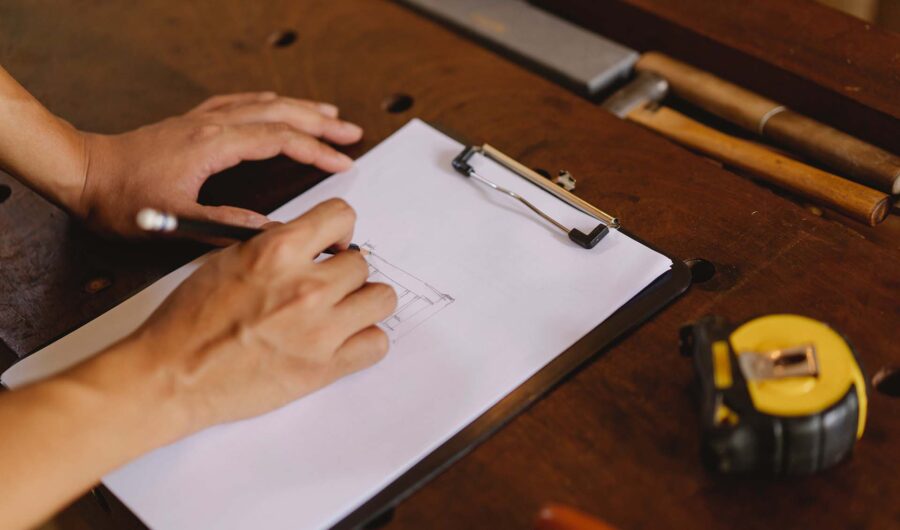
A picture is worth a thousand words, especially when it comes to putting something back together. Before you start disassembling, snap clear photos from multiple angles. These visuals will serve as a handy reference, ensuring you can replicate its original setup after relocation to your new home.
Keep the Instruction Manual Handy
The original instruction manual is invaluable. If your outdoor item comes with one, ensure it’s kept in a safe and easily accessible location. The manual provides manufacturer-specified guidance, which can be particularly useful if you encounter challenges during the reassembly phase. In case you lost yours, you can usually find one online or write down, draw, or photograph the complicated setups.

How to Pack a Garden Swing for Moving – A Step-By-Step Guide
Moving a cherished item like a garden swing requires more than just bundling it up and hoping for the best. Each component, from the sturdiest beam to the tiniest screw, plays a vital role in ensuring it functions perfectly in its future location.
Approaching this task without a plan can lead to damage, lost parts, or unnecessary complications during reassembly. This step-by-step guide is designed to help you pack and transport your garden swing with the utmost care, ensuring its longevity and giving you peace of mind. Follow these steps diligently to ensure a hassle-free move.
Step 1: Dismantling the Swing
To begin the process, you’ll first need to dismantle the item. Always approach this task with patience and caution. It’s best to start by removing the easily detachable parts, like cushions or armrests. Gradually move to the main frame, ensuring you handle each piece with care.
Step 2: Wrapping Individual Pieces
Once dismantled, each piece needs to be wrapped securely. For metal or wooden parts, consider using bubble wrap or moving blankets. Ensure that each piece is entirely covered, with special attention given to areas that are fragile or prone to scratches. Secure the wrap with tape, ensuring it’s snug but not overly tight, as this could cause damage.
Step 3: Packing Small Components
Screws, bolts, and other small hardware are essential for reassembly, so they need particular attention. The best approach is to use small boxes or zip bags for these items. Each container should be clearly labeled, indicating the corresponding part of the object. This organization will help streamline the setup at your new location.
Step 4: Packing Cushions and Fabric Elements
For cushions, canopies, and fabric seats, it’s vital to store them in a way that prevents mold or dampness. Before packing, ensure they are completely dry. You might want to wrap them in plastic covers, but ensure there’s some airflow to prevent moisture build-up. Desiccant packets within the wrapping can also help keep dampness at bay.
Step 5: Securing With Packing Tape and Other Materials
After wrapping, some parts might need to be secured together to form a compact unit. Use duct tape or ropes for this, but be cautious. Over-tightening or binding too firmly can lead to warping or damage. Ensure everything is secure yet not strained.
Step 6: Box It up for Safe Travels
Finally, it’s boxing time. Opt for sturdy boxes that can bear the weight of these components. When placing items inside, be mindful of weight distribution. Heavier parts should sit at the bottom, with lighter components on top. This balance ensures stability during transit and reduces the risk of damage. Seal the boxes securely, label them clearly, and they’re ready for the journey ahead.
Additional Tips on How to Keep Your Garden Swing in the Best Shape Possible
One fundamental relocation tip – never rush the disassembly or packing process. Hastiness can lead to overlooked details or even damage. If possible, enlist the help of a friend or family member. An extra pair of hands can make the boxing-up process more efficient and help manage bulky parts.
Considering you’re relocating across the country, hiring professional movers might be a wise choice. Their expertise, especially in relocating large items, ensures that your belongings are handled with the skill and care they deserve.

Hire Cross Country Movers and Swing to Your Future Abode
At Cross Country Movers, we understand the sentiment and care attached to each of your belongings. With years of experience under our belts, we bring not just the tools but also the nuanced understanding of how to maneuver, pack, and transport items of all shapes and sizes, ensuring they arrive unscathed.
Our specialized cross-country moving services are designed to ensure a smooth transition, no matter the distance. Beyond mere transport, our expert packing services are here to give you peace of mind, ensuring every item is wrapped, boxed, and handled with precision. Contact us today, and let’s move forward together, ensuring your memories travel safely and securely.
FAQ
How Do You Store an Outdoor Swing?
Storing this outdoor item requires a few key considerations. Ensure it is clean and dry before storage. Then, disassemble it if possible to save space and protect components. Store in a dry, cool location, ideally away from direct sunlight. If stored outside, use a weather-resistant cover to protect it from the elements.
How Do You Move Heavy Outdoor Furniture?
Moving heavy outdoor furniture necessitates preparation and caution. Use furniture dollies, lifting straps, or hand trucks to aid in moving. It’s wise to have an extra set of hands. Enlist help or consider hiring a professional company. Always lift using your legs and not your back to avoid injuries.
Do I Really Need to Dismantle My Garden Swing Before Moving?
Dismantling this item makes it easier to transport and reduces the risk of damage. While it might be tempting to move it as a whole, taking it apart often ensures more efficient and safer relocation, especially for larger or more intricate designs.
What Types of Packing Materials Are Best for Protecting My Garden Swing?
Bubble wrap, moving blankets, and sturdy cardboard boxes are relocation essentials. For smaller components, zip bags and small boxes can be useful. High-quality duct tape is vital for sealing boxes. Desiccant packets can prevent moisture if you’re relocating in humid conditions.
How Can I Ensure That I Don't Lose Any Small Parts Like Screws and Bolts?
Place all small parts in labeled zip bags or containers. Keeping an inventory and taking photos before dismantling can also serve as a handy reference. Store these bags inside a main box with larger parts or tape them to larger components to keep everything together.
Is It Necessary to Clean the Swing Before Packing It? If So, Why?
Yes, cleaning it ensures dirt and grime don’t cause issues during reassembly. Trapped dirt during transit could also lead to staining or further damage.
What Should I Do if My Garden Swing Has Rusted or Corroded Parts?
Rusted or corroded parts can pose challenges during dismantling or reassembly. Before moving, apply penetrating oil to rusted components, letting them sit to loosen them. Consider replacing severely corroded parts. Once relocated, take measures to prevent further rust, such as painting or using rust inhibitors.


