

Child’s Play – A Comprehensive Guide to Moving a Baby Crib Safely
Posted in How-to,Moving Tips & Tricks on April 4, 2024
Moving a baby crib across the country presents a unique set of challenges that requires careful planning and execution to ensure the safety and comfort of your little one. Whether you’re a first-time parent or a seasoned guardian looking to streamline the next move – our step-by-step instructions, expert advice, and practical baby furniture moving tips will ensure that your child’s sleeping sanctuary is handled with the utmost care during the trip.
Prioritizing safety and efficiency, the process of how to move baby crib encompasses thorough assessment, meticulous packing, and careful reassembly. From conducting a comprehensive safety check and organizing parts to employing protective wrapping materials and strategic loading techniques, each step ensures the crib’s integrity during transit.
Assessing the Crib Before the Move
Before you start the physical process of moving cross-country with your baby’s bed, a thorough assessment is crucial to ensure the move is as smooth and safe as possible. This initial step is foundational, setting the stage for a successful transition to the new home without compromising the safety or well-being of the little one.
Start With a Safety Check and Cleaning
Before initiating the cross-country relocation, conducting a comprehensive safety check and thorough cleaning of the bed is paramount. Start by inspecting the crib for any signs of damage or wear, such as loose screws, missing parts, or splinters that could pose a risk to a child. It’s essential to ensure that all components are in good condition and securely fastened to prevent any accidents during or after the move.
After the safety inspection, cleaning the crib is the next crucial step. Begin by removing all bedding, toys, and accessories. Use a gentle, child-safe cleaning solution or a mixture of mild soap and water to wipe down every surface, nook, and cranny. Pay special attention to the rails and slats, as these areas are frequently in contact with the baby’s hands and mouth.
Allow the frame to dry completely in a well-ventilated area before proceeding with disassembly. This not only ensures a clean environment for a child but also helps in identifying any further repair needs more clearly.
Reviewing Assembly Instructions
Before disassembling a crib for moving, it’s highly recommended to consult the assembly instructions if available. These instructions are invaluable for understanding the specific steps required to safely take apart and reassemble the infant’s bed. If you’ve misplaced the original manual, many manufacturers offer digital copies on their websites.
Reviewing the assembly instructions can also help you identify and organize the hardware (screws, bolts) and various other parts, making the reassembly process much smoother and quicker. In cases where instructions are not available, take detailed photos or videos before and during disassembly to serve as a visual guide.

Disassembling the Crib Is a Critical Step
Disassembling the crib is a critical step in the process of moving across country, requiring patience and organization to ensure that reassembly at the new home is straightforward and stress-free. The goal is to dismantle the bed efficiently while keeping track of all its parts and hardware so nothing gets lost or damaged in transit.
Organizing and Labeling Parts Makes for Easier Reassembly
Start by carefully disassembling the crib, piece by piece, following the instructions manual if available, to avoid any mistakes. As you remove each part, label them using stickers or masking tape and a marker. Write a brief description on each moving label, such as “side rail,” “headboard,” or “base panel.” This method not only helps in organizing packing and keeping track of all the parts but also greatly simplifies the reassembly process.
Packing Hardware Securely
The hardware – screws, bolts, nuts, and any small parts – is the heart of the crib’s assembly and must be kept secure and organized. After disassembling the baby’s bed, collect all the hardware and place them in a sturdy, sealable bag. Label this bag clearly with its contents and which part of the frame they belong to.
To ensure you don’t lose this crucial bag, tape it to one of the larger, more visible parts of the crib, such as the underside of the mattress base or inside the headboard. Another effective strategy is to keep this bag in a “moving essentials box” where you store items that will be immediately needed at the new home, like tools, assembly instructions, and other day-to-day necessities.
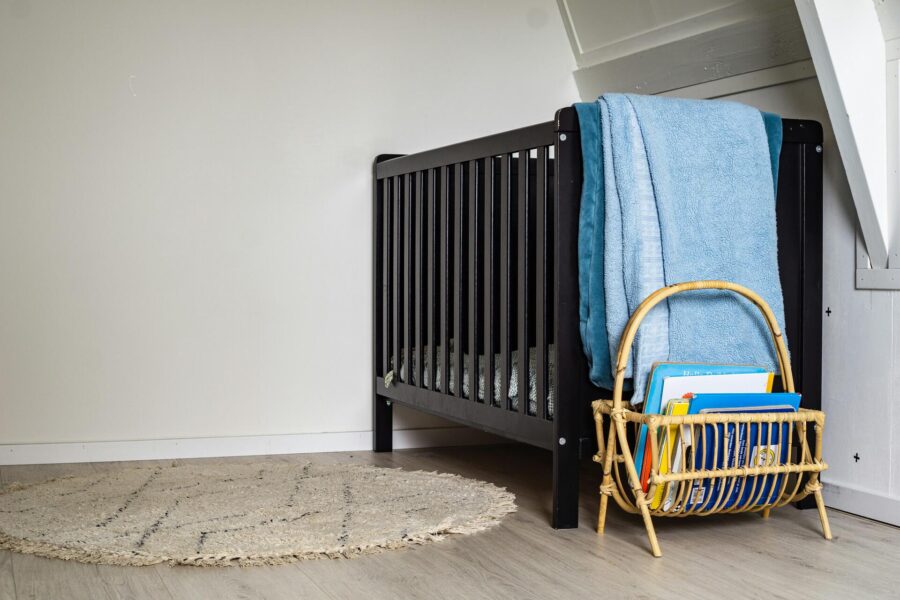
Guide on How to Properly Pack Baby Crib for the Move
As you prepare to transport the baby’s bed to its new location, efficient packing is essential to safeguard it from damage during transit. Employing the right materials and techniques ensures that the crib arrives at its destination in pristine condition, ready to provide the little one with a safe and comfortable sleeping space.
Protective Wrapping Materials
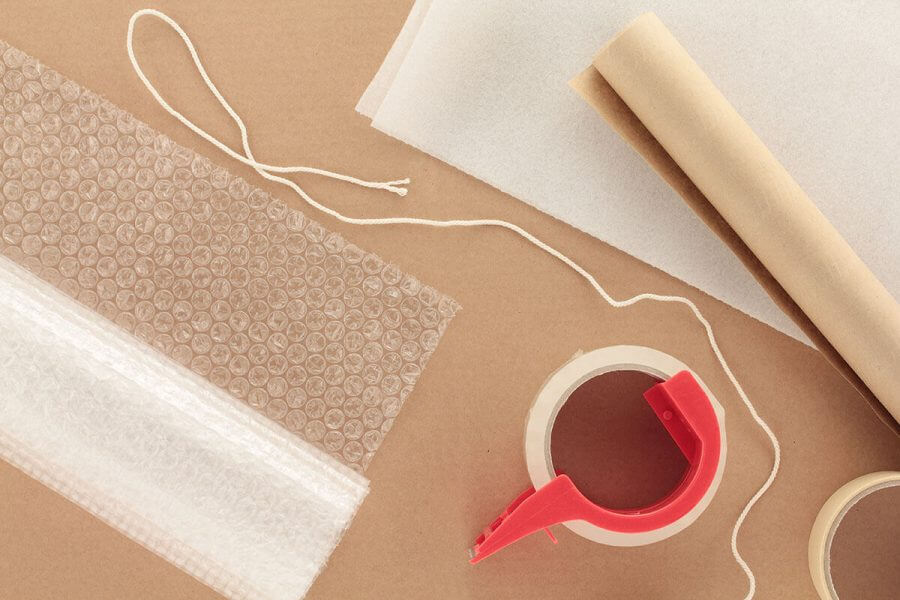
To ensure safe transport of baby crib, it’s essential to gather the appropriate protective packing materials. These materials include:
- Bubble wrap, which provides cushioning against impacts and prevents scratches on delicate surfaces,
- Relocation blankets are also indispensable, offering an additional layer of protection and insulation during transit,
- Packing paper for wrapping delicate components,
- Sturdy packing tape is essential for securely fastening the wrapping materials in place, preventing them from shifting or coming loose during the relocation.
Use Proper Wrapping and Packing Techniques
When packing the crib for relocation, it’s crucial to employ proper wrapping and packing techniques to minimize the risk of scratches and damage. Begin by wrapping each individual component separately. Start with bubble wrap or packing paper, ensuring that all exposed surfaces are adequately covered to provide maximum protection.
Once wrapped in bubble wrap, use relocation blankets to further shield the crib from impacts and scratches. Secure the blankets tightly around the components using sturdy packing tape, making sure not to leave any tape residue and that there are no loose or exposed areas.
Considerations for Transporting the Crib Safely
When it comes to transporting a baby’s bed, ensuring its safety and integrity during transit is paramount. This involves not only loading it onto the moving truck carefully but also considering factors specific to long-distance moves to mitigate potential risks and damages.
Loading the Crib Safely
When it comes to loading the crib onto a relocation truck, careful planning and execution are essential to ensure its safety throughout the journey. Start by selecting an appropriate location within the truck where it can be placed securely. Ideally, position it against a wall or other stable surface to minimize movement during transit.
Ensure that the crib is loaded onto the moving truck in such a way that it is well-balanced and does not risk tipping over or causing damage to other items. Use tie-down straps or ropes to secure it in place, anchoring it to the walls or floor of the truck to prevent shifting during travel. By taking these precautions, you can ensure a safe move and reduce the risk of damage during the relocation.
Special Considerations for Long-Distance Moves
When it comes to long-distance moving, additional considerations come into play to protect the crib from potential damage. Temperature fluctuations can affect the materials, leading to warping or other forms of damage.
To mitigate this risk, wrap its components in additional layers of protective materials, such as insulated relocation blankets or plastic sheeting, to provide insulation against extreme temperatures. Additionally, if the move involves traversing different climate zones, take precautions to protect the crib from moisture or humidity, which can promote mold or mildew growth.
Using moisture-resistant packaging materials and ensuring proper ventilation within the moving truck can help safeguard the crib against these environmental factors.
By considering these aspects during the stages of planning the long-distance relocation, you can ensure that the baby’s bed arrives at its destination in optimal condition, ready to provide a safe and comfortable sleeping space.
Another thing you should consider is hiring professional cross-country moving services. Long-distance movers are experienced in the process of transporting large and fragile items such as cribs, and they can also provide expert packing services that ensure your items will be protected throughout the journey. Just make sure to find a reliable moving company such as Cross Country Movers – you can check if a company is legitimate on sites like the Better Business Bureau.
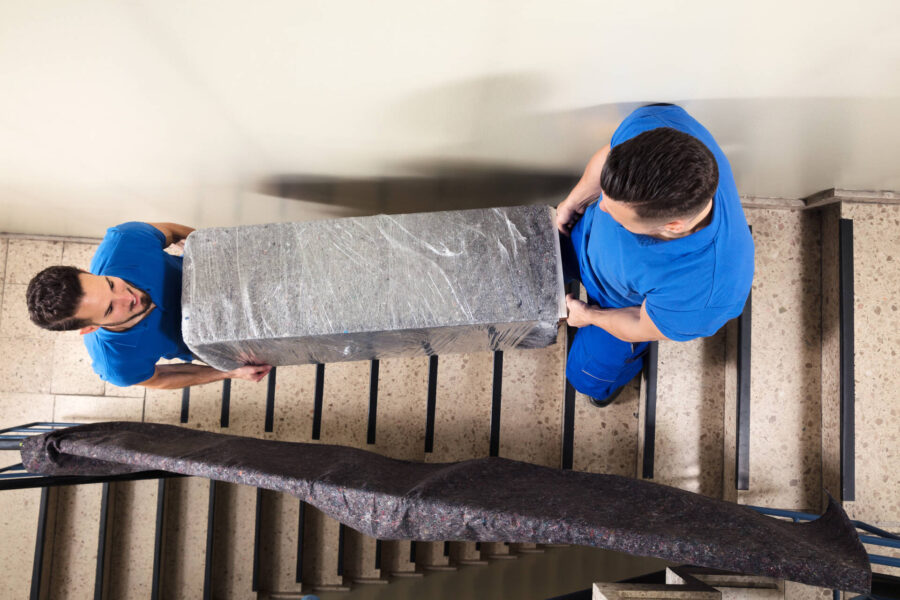
Reassembling Baby Furniture at the New Home
After safely transporting the baby’s crib, the next crucial step is reassembling it to provide the little one with a familiar and secure sleeping environment. This process involves careful preparation of the space and systematic reassembly of the components to ensure stability and safety.
Start by Preparing the Space
Before beginning the reassembly process, take some time to choose the optimal location for the child’s bed in the new home. Consider factors such as proximity to your own bedroom, accessibility for nighttime check-ins, and safety hazards such as windows, cords, or heating vents.
Once you’ve selected the ideal spot, ensure that the area is clear of any debris or obstacles and is adequately ventilated. Additionally, you can invest in a mattress that meets safety standards and fits snugly within the little bed frame to provide optimal comfort for the baby.
Here’s a Step-by-Step Reassembly Guide
Begin the reassembly process by gathering all the labeled parts and hardware that you carefully packed and transported. Refer to the assembly instructions, if available, to guide you through the process step by step. Start by reconstructing the frame, ensuring that all the parts fit together securely and align properly.
Use the labeled components to match and assemble each section, double-checking all connections to ensure they are tight and secure. Pay special attention to areas such as the mattress support, ensuring it is firmly attached to the frame to prevent any risk of collapse. As you progress through the reassembly, take the time to ensure each step is completed accurately, and don’t hesitate to refer back to the assembly instructions or photos taken during disassembly if needed.
Once the crib is fully reassembled, give it a thorough inspection to confirm that all parts are in place and properly secured. Finally, test the stability of the crib by gently shaking it to ensure it is solid and secure before placing the baby inside.

From Packing to Dreamy Nights – A Journey to Safely Moving and Reassembling a Baby’s Crib
Successfully moving with kids and cribs requires careful planning, attention to detail, and a commitment to ensuring the safety and comfort of the child. Ultimately, the goal is to create a familiar and secure sleeping environment for them in the new home, ensuring peace of mind for both you and your baby during this exciting but potentially challenging time.
We know that all loving parents need some help, so don’t hesitate to contact us at Cross Country Movers and allow our expert team to provide you with a stress-free move and comfort that comes with it.
FAQ
How Can I Ensure the Crib Remains Stable After Reassembling It in the New Home?
To ensure it remains stable after reassembly, double-check all connections and tighten any loose screws or bolts. Test the stability by gently shaking it to ensure it is solid and secure.
What Should I Do if I Lose a Piece of the Crib During the Move?
If you lose a piece during the relocation, contact the manufacturer to inquire about replacement parts. Alternatively, you may find compatible parts at hardware stores or online retailers specializing in parts for cribs.
Can I Pack Other Baby Items in the Crib While Moving?
It’s not recommended to pack other baby items in the crib while moving. Instead, pack baby items separately using appropriate packaging materials to ensure their safety during transit.
How Do I Protect the Crib From Moisture During a Long-Distance Move?
To protect it from moisture during a long-distance relocation, use moisture-resistant packaging materials such as plastic sheeting or waterproof covers.
Should I Hire Professional Movers for Moving a Baby Crib?
Whether to hire professional movers depends on individual circumstances, such as the distance of the move, available resources, and personal preferences. If you’re unsure, weigh the costs and benefits of hiring professionals versus DIY moving methods.

